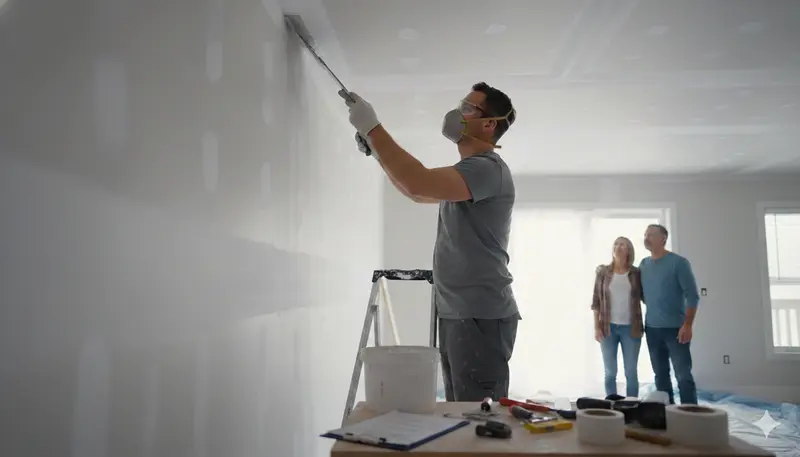
Drywall seams are meant to vanish. When they bubble, peel, crack or show up as faint stripes across a painted ceiling, something went wrong – either when the wall was first finished or later, when moisture or movement got involved.
This guide focuses on diagnosing failed seams and repairing them so they stay hidden, with techniques suited to humid Florida homes.
What a failed seam looks like
Bubbled tape
Long, raised blisters along a joint. The tape was not fully embedded in compound, leaving air pockets. Humidity can loosen it further.
Peeling tape
The edge of the tape lifts away from the wall, often in bathrooms or along ceilings. Usually caused by a dry, starved joint or by moisture.
Cracked seams
A straight crack running down the middle of the tape line. Often seen on ceilings and in long hallways where the house moves slightly with heat and humidity.
Visible seams under paint
Faint stripes or a different sheen along joints. Usually the result of compound that was not primed properly, or a joint built up too high or not feathered wide enough.
Ridges and humps
Joints that sit proud of the wall, visible in side light. Too much compound, not enough feathering.
Why seams fail in Florida homes
- Humidity and AC cycles. Long, humid summers and sudden cooling make materials swell and shrink.
- Leaks. Roof leaks, AC condensation and plumbing drips soften compound and lift tape.
- Rushed finishing. Compound applied over wet coats, or tape bedded in too little mud.
- Settling and framing movement, especially in additions and newer homes as lumber dries.
If a seam failed because of water, fix the leak first and make sure the drywall behind it is dry and firm.
The repair, step by step
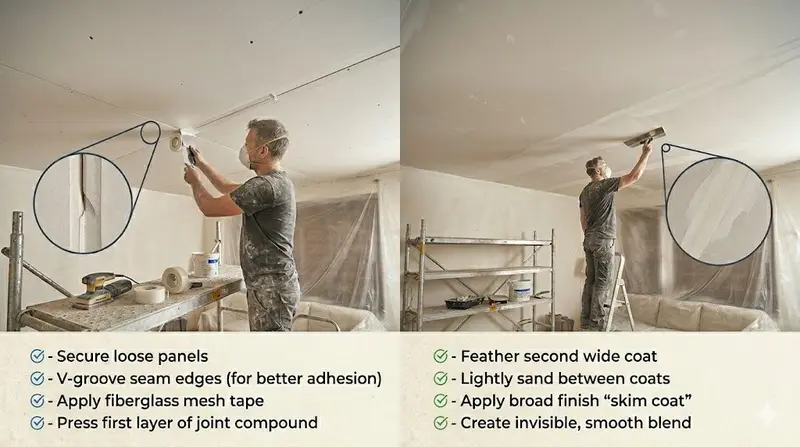
1. Cut out every loose section
Use a sharp utility knife to slice along both edges of the failed tape and peel it away until you reach tape that is firmly bonded. Do not just press it back down – glue or caulk under loose tape rarely holds and shows through paint.
2. Sand and clean
Sand the edges of the cut area smooth and wipe off dust. If the drywall paper has torn, seal it with a coat of primer or shellac-based sealer to stop it bubbling when wet compound hits it.
3. Re-tape
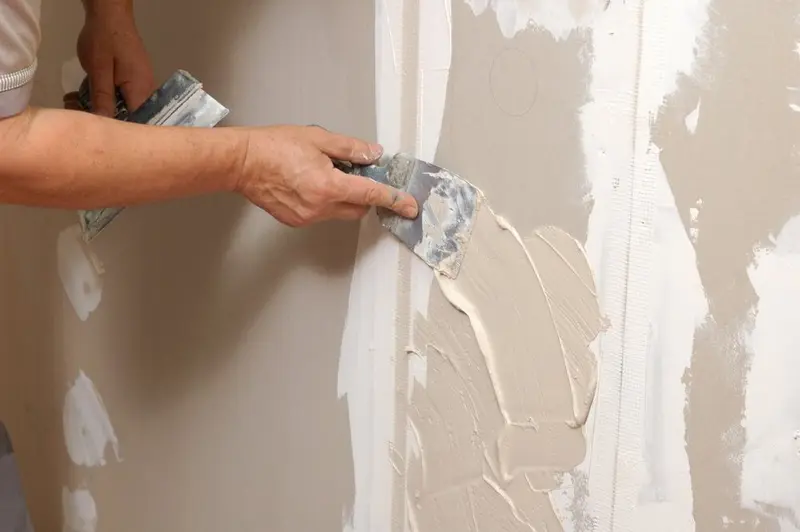
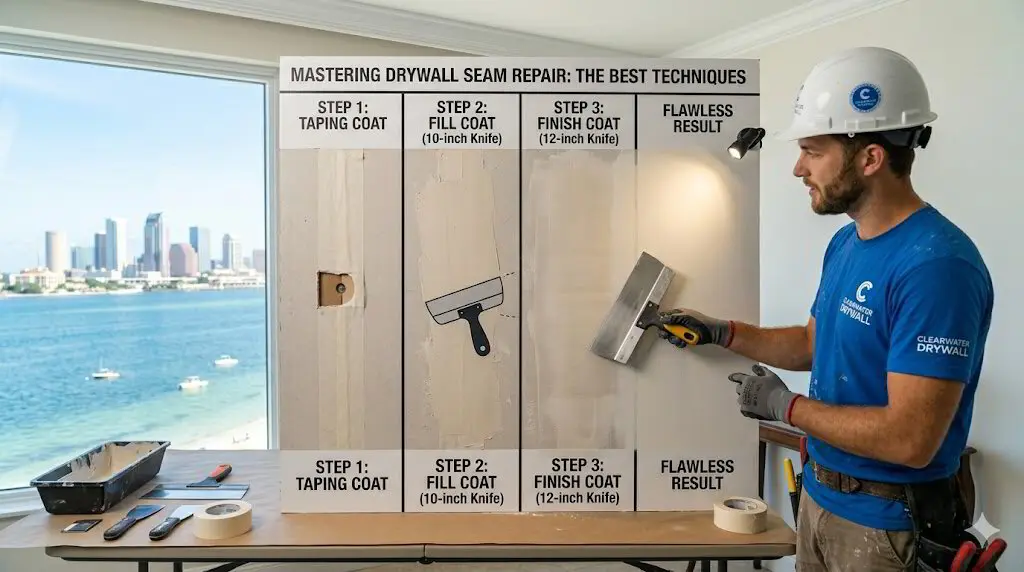
Apply a thin, even bed of compound, lay new paper tape, and press it firmly with a knife to squeeze out the excess. Check for air pockets by running your knife back over it. For a long ceiling seam, work in manageable lengths.
4. Build up in thin coats
Let the tape coat dry fully, then apply a second coat a few inches wider on each side. Follow with a thin, wide finish coat. Feathering wide is what makes a seam disappear – a narrow, thick joint will always show.
5. Sand with a light
Hold a flashlight flat against the surface to find ridges. Sand lightly with a fine sponge or pole sander.
6. Match the finish and prime
Re-apply texture if the surface is textured. Then prime the whole repaired area – not just the seam – so paint absorbs evenly.
7. Paint wall to wall
Paint the full wall or ceiling plane, corner to corner, to avoid a visible sheen difference.
Common mistakes to avoid
- Gluing or caulking loose tape back down
- One thick coat instead of three thin ones
- Skipping primer over new compound
- Sanding through the paper face
- Re-taping over damp drywall
When seam repair becomes a bigger job
If many seams across a ceiling are bubbling or cracking, the issue may be the original finishing, ongoing moisture or both. Re-taping every joint and skim-coating the ceiling can be more effective than chasing individual seams. If the ceiling has popcorn texture and the home was built before the mid-1980s, test for asbestos before scraping.
For a more general walkthrough of seam repair for DIYers, see our guide on how to repair drywall seams like a pro.
Getting help
Our seam and crack repair service re-tapes and refinishes failed joints with HEPA dust control and a 1-year written workmanship warranty. Homeowners in Bradenton and nearby can see our Manatee County crack repair page, and if you are getting ready to repaint, our painting prep team can leave every seam primed and paint-ready. Text a photo to 727-242-8500 for a written estimate, usually within the hour.