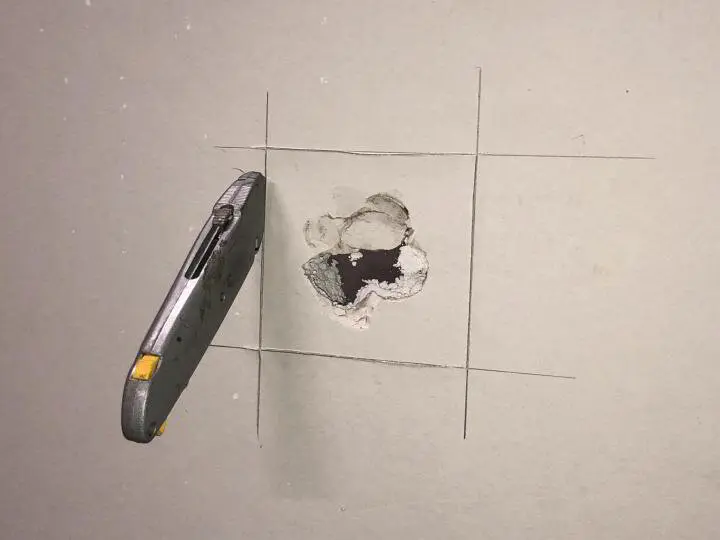
Most homeowners can fill a hole in drywall. The frustration comes afterwards, when the paint dries and there's a raised square, a dull halo or a smooth spot on a textured wall that catches the eye every time you walk past.
The difference between a visible patch and an invisible one comes down to a handful of habits that professionals use on every repair. This guide skips the basics of cutting and backing a hole — our step-by-step guide to fixing drywall holes covers that — and focuses on the finishing details that make a repair disappear.
Why patches show
A repaired area usually shows for one of five reasons:
- It's raised. Compound was left proud of the wall, creating a bump.
- It has edges. The transition from patch to wall wasn't feathered wide enough.
- It wasn't primed. Bare compound absorbs paint differently, leaving a dull or shiny spot ("flashing").
- The texture doesn't match. A smooth patch on orange peel or knockdown stands out.
- The paint doesn't match. Old paint has faded, or the sheen is different.
Fix all five and the patch disappears.
Tip 1: Keep the patch itself flush or slightly recessed
Whatever patching method you use, the patch itself should sit flush with or just below the wall surface. If a piece of drywall or a self-adhesive patch sits proud, every coat of compound on top makes the bump bigger. Recess paper edges slightly by scoring and peeling away torn face paper, and drive fasteners just below the surface.
Tip 2: Feather far wider than the damage
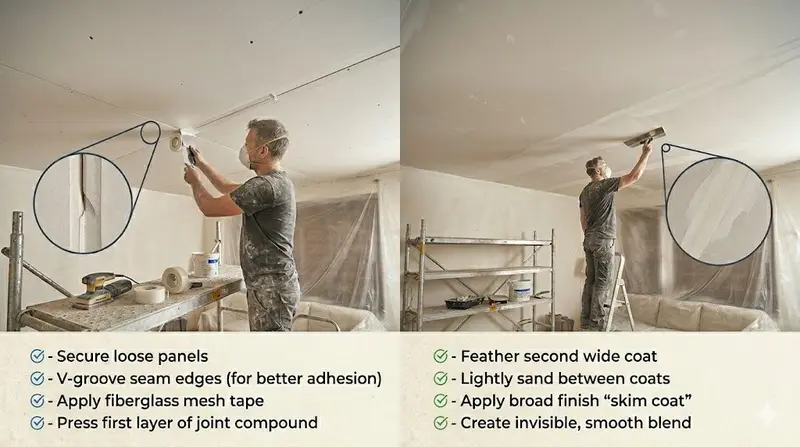
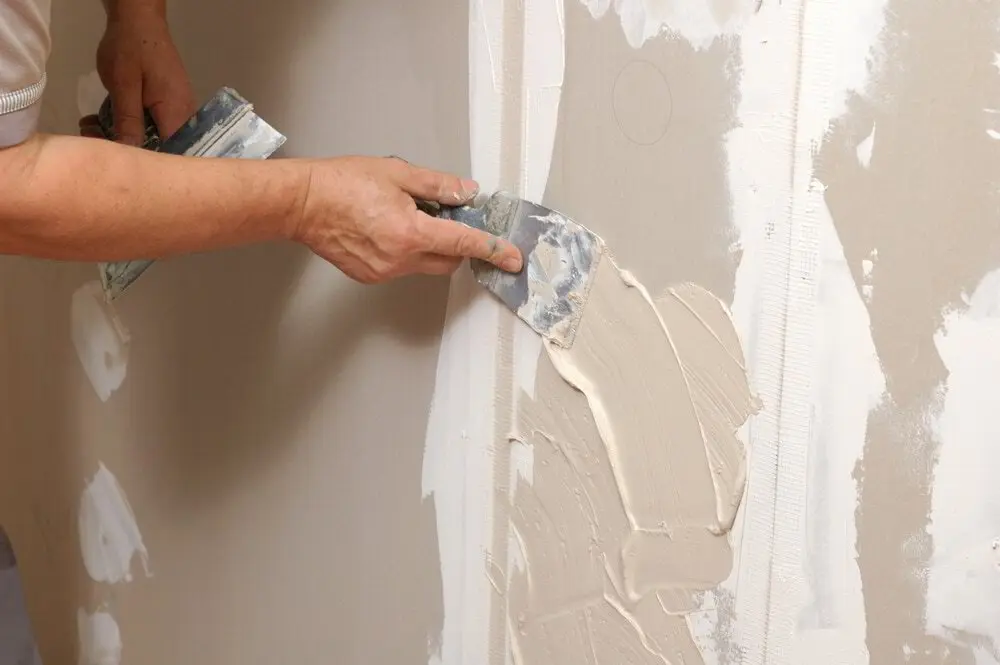
The most important professional habit is feathering. Each coat of compound should extend further than the last:
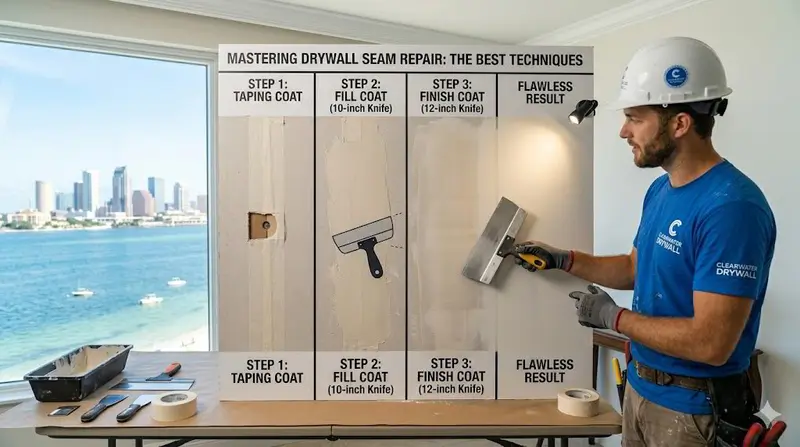
- First coat: just past the edges of the patch or tape
- Second coat: several inches wider on each side
- Final coat: wider still, with the knife held almost flat and only light pressure on the outer edge
A wide final coat spreads any slight hump across a broad area, where the eye can't detect it. A small hole may end up with a finished area many times its size, and that's normal.
Tip 3: Thin coats, fully dry
Thick coats of premixed compound shrink, crack and take a long time to dry, especially in Florida humidity. Apply thin coats, and let each dry completely before the next. Running the AC helps. For deep fills, use setting-type compound for the first coat; it hardens chemically and shrinks less.
Tip 4: Check with raking light before you paint
Hold a work light or flashlight flat against the wall so the beam skims across the surface. Every ridge, edge and dip throws a shadow. Mark problems with a pencil, then lightly sand or add a thin coat to fix them.
Do this check before priming — fixing a flaw at this stage takes minutes, while fixing it after paint means starting the finish again.
Tip 5: Sand lightly and smartly
- Use a fine-grit sanding sponge or a pole sander, not coarse paper
- Sand the edges of the patch more than the centre
- Don't sand through to the drywall paper; fuzzy paper shows through paint
- Wipe dust off with a barely damp cloth before priming
Contain dust with plastic sheeting, and wear a mask. Professional crews use HEPA-filtered sanders and vacuums to keep fine dust out of the rest of the house.
Tip 6: Prime every repair
Primer seals compound and drywall paper so they take paint the same way as the surrounding wall. Use a drywall primer on repairs, or a stain-blocking primer if the repair was over a water stain. Skipping primer is the most common cause of patches that look fine wet and show as soon as the paint dries.
Tip 7: Match the texture
If your walls are textured, the repair needs the same texture before priming. Orange peel can sometimes be matched on small areas with a spray can, practising on cardboard first. Knockdown and larger areas generally need a hopper or sprayer and practice. A smooth patch on a textured wall will always show, no matter how good the paint.
Tip 8: Paint corner to corner
Even with the right colour, touching up just the patch often leaves a visible area, because the surrounding paint has aged and the new paint's sheen differs. For a truly invisible result, repaint the whole wall from corner to corner, using the same sheen as the original. Flat and matte finishes are the most forgiving for touch-ups.
A finishing checklist
- Patch flush or recessed
- Each coat feathered wider than the last
- Thin coats, fully dry
- Raking-light check passed
- Sanded smooth, no fuzzy paper
- Primed
- Texture matched
- Wall painted corner to corner
When to call a professional
Some repairs are harder to make invisible: ceilings, walls facing big windows, smooth Level 5 surfaces, heavy knockdown, and any repair over water damage. The Patch Guyz specialise in this kind of finishing. Our drywall repair service covers holes, cracks and water damage, and our texture matching specialists blend repairs into orange peel, knockdown and other finishes. Pinellas homeowners can learn more on our Seminole drywall page. Every repair includes a walkthrough before payment and a one-year written workmanship warranty.