A hole in drywall looks like a single problem, but the fix depends almost entirely on one measurement: how big it is. A pinhole and a hole you can put your arm through use completely different methods. Measure first, then pick your section below.
Before You Start
Check what is behind the wall before you cut anything. Exterior walls on Florida block homes often have furring strips and sometimes wiring running along them. Interior walls can hide plumbing, cable and electrical lines. Turn off power to nearby outlets if you are cutting near them, and cut shallow.
Tools and materials
- Utility knife with fresh blades
- Drywall saw (for medium and large holes)
- Putty knives in a small, medium and wide size (roughly 4, 6 and 10 inches)
- Joint compound: lightweight spackle for tiny holes, setting-type powder and ready-mixed all-purpose for bigger ones
- Paper or mesh tape, self-adhesive mesh patches
- Scrap drywall the same thickness as your wall (most walls are half-inch)
- Wood strips or furring for backing, plus drywall screws
- Sanding sponge, primer and matching paint
Small Holes: Nails, Screws and Anchors
These are anything up to about a pencil's width.
- Pull out any anchor or loose fastener. Press any raised paper flat with the knife.
- Fill with lightweight spackle, pressing it in and scraping flush.
- Let it dry, add a second thin pass if it shrank, then sand lightly.
- Spot-prime before painting so the patch does not show as a dull spot.
A screw head poking through the paint ("nail pop") needs one extra step: drive a new screw an inch or two away to pull the board tight, then reset or remove the old one and fill both.
Medium Holes: Doorknobs and Accidents
This covers holes from about an inch up to roughly six inches across.
Option A: Self-adhesive mesh patch
- Trim any torn paper and loose gypsum around the edge.
- Stick the patch centered over the hole.
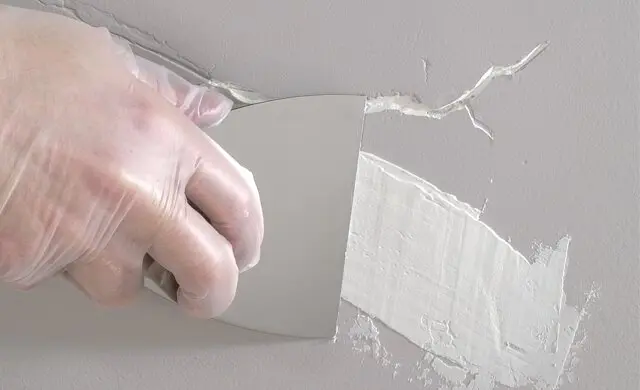
- Apply a thin coat of compound over the whole patch, feathering past its edges.
- After it sets, add a second, wider coat, then a third if needed.
- Sand, prime and paint.
Mesh is fast, but it can leave a slight hump. Feather wide to hide it.
Option B: The California patch
This gives a flatter result.
- Cut a piece of scrap drywall a couple of inches larger than the hole on all sides.
- On the back, score and snap the gypsum about an inch in from each edge, then peel the gypsum away so the paper face remains as a flange.
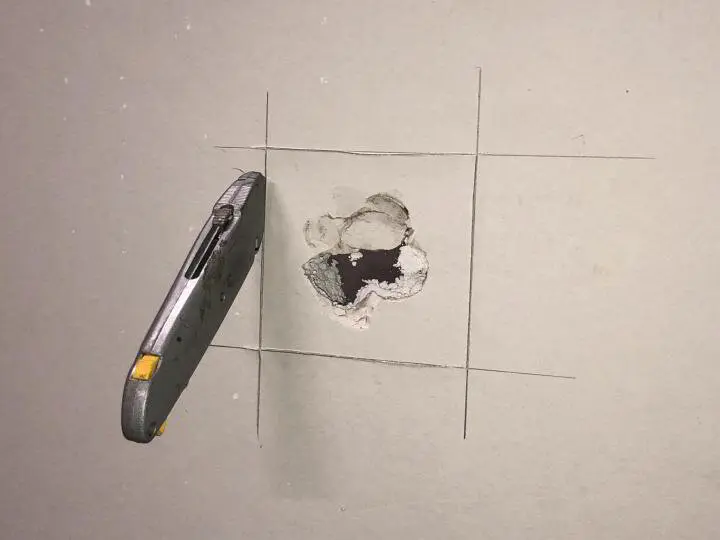
- Hold the remaining square over the hole, trace it, and cut the wall opening to match.
- Butter the back of the paper flange with compound, press the plug in, and wipe the flange flat.
- Skim over it, let it set, then apply two more feathered coats.
Large Holes: Bigger Than Your Hand
Anything larger than about six inches needs real backing.
- Draw a square or rectangle around the damage and cut it out cleanly. Square openings are far easier to fill than ragged ones.
- Screw wood strips inside the opening on two sides, half under the existing drywall and half exposed. If a stud is close, extend the cut to its center instead.
- Cut a replacement piece to fit, leaving a small gap all round, and screw it to the backers.
- Tape all four seams. Paper tape embedded in compound gives the strongest joint.
- Apply a second coat about six inches wide, then a third wider still.
- Sand, prime and paint the whole patch area.
If the hole came from a plumber or electrician opening the wall, the edges are usually already square, which makes this method straightforward. For those openings, see our page on patching walls after electrical work.
Florida Drying Tips
Humidity is the hidden variable in every DIY repair here.
- Use setting-type compound for the first coat on medium and large holes. It hardens chemically, so it is not waiting on the air to dry it.
- Run the AC and keep the room closed while coats dry. Fans help; open windows on a muggy day do not.
- Do not sand compound that still looks darker than its surroundings. It is still wet inside.
- Prime with a quality primer. Compound that was sanded smooth still absorbs paint differently from the wall around it.
Matching the Finish
Most DIY patches fail on appearance, not strength. Two things make the difference:
- Feather wider than you think. Each coat should reach several inches past the last one so the light cannot find an edge.
- Match the texture. If your walls have orange peel or knockdown, a smooth patch will stand out. Spray texture in a can works on small spots; larger areas need proper texture equipment.
When a Pro Makes More Sense
Call in help when the hole is in a ceiling, is near water damage, sits in a wall with strong side light, or when you have several to do before a move-out. A professional drywall hole repair visit typically handles taping, texture and paint-ready finishing in one trip, and HEPA dust control keeps the sanding mess out of the rest of the house.
Cracks are a different problem from holes. If you are seeing lines rather than openings, read how to fix drywall cracks at home.
Want a second opinion first? The Patch Guyz offers free virtual estimates: text a photo with a coin or tape measure in the shot to 727-242-8500 and you will usually get a written quote back within the hour.