Seams are where two sheets of drywall meet, and they are where most finishing problems show up. The tape that bridges the joint can blister, lift, crack down the middle or leave a ridge you can see every time the afternoon sun comes through the window.
The good news: seam repair is one of the more manageable DIY drywall jobs, as long as you accept one rule. Never bury loose tape under more compound. It will fail again, usually in the same summer.
Know Which Seam Problem You Have
Look closely and run your hand along the joint.
- Bubbled or blistered tape. The tape lifted because it was not fully bedded in compound, or moisture got behind it.
- Peeling tape. The edge has come away from the wall, common in bathrooms and near AC supply vents.
- A straight hairline crack along the tape. The joint has moved slightly. If it keeps returning, read the section at the end before repairing.
- A raised ridge or a visible stripe. The tape is sound, but the joint was finished too narrow or the compound was not sanded flat.
- Nail or screw pops along the seam. The board has shifted on its fasteners.
Tools You Will Need
- Sharp utility knife
- 6-inch and 10- or 12-inch drywall knives, plus a mud pan
- Paper joint tape
- All-purpose joint compound, and setting-type compound for the first coat if the room is humid
- Sanding sponge or pole sander with fine grit
- Drop cloths, a damp sponge, primer and paint
- Drywall screws and a drill for any loose sections
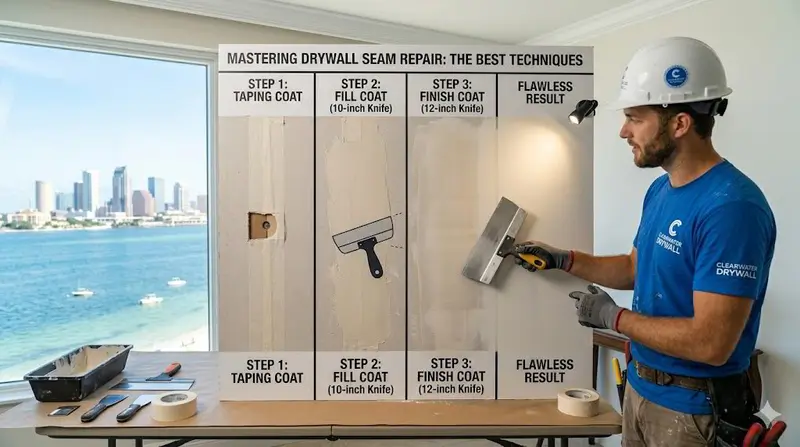
Step 1: Prepare the Seam
- Lay drop cloths and cover vents near the work area.
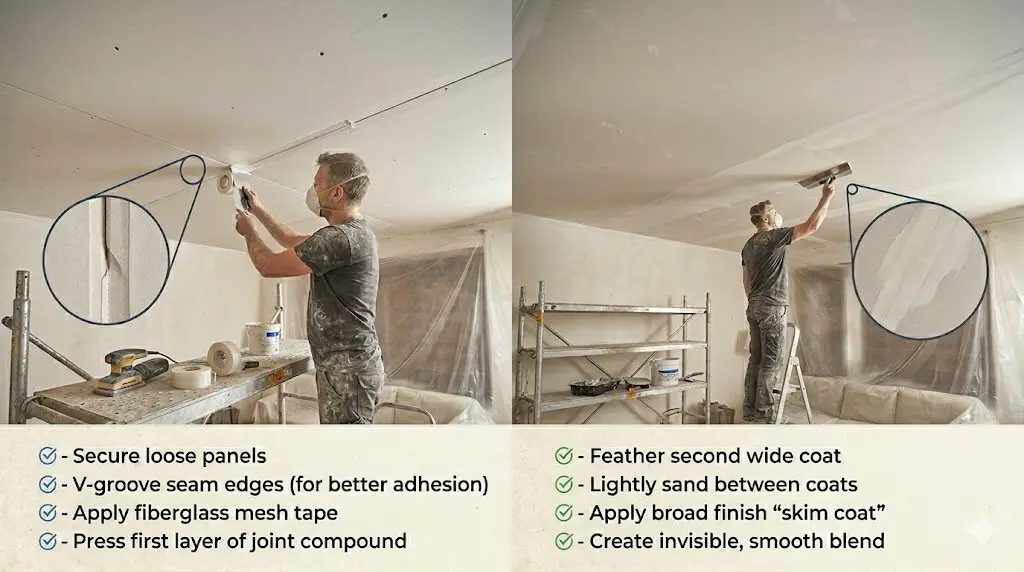
- Cut along both edges of any loose or bubbled tape and peel it away until you reach tape that is firmly stuck.
- Scrape off loose compound. Leave anything solid.
- If the board moves when you press it, add screws an inch or two either side of the joint to pull it tight to the framing.
- Wipe off dust with a barely damp sponge.
Step 2: Re-Embed New Tape
- Fold a length of paper tape down the middle so it holds a crease (useful for corners; on flat seams, keep it flat).
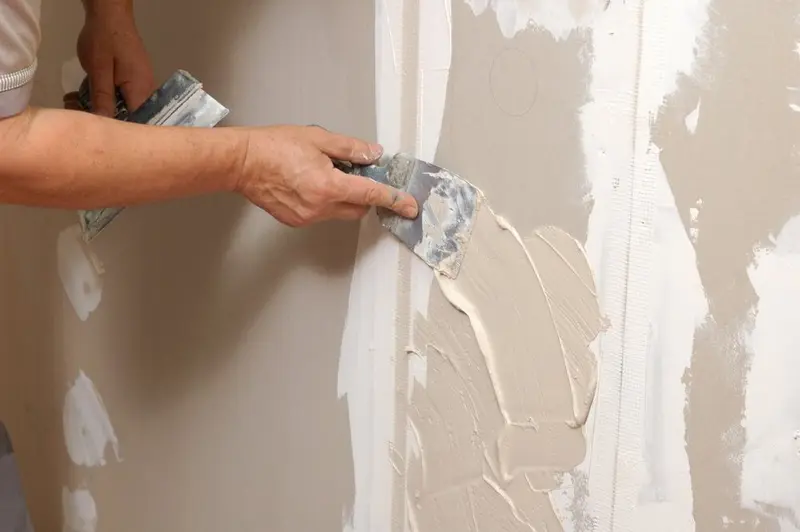
- Spread a thin, even bed of compound along the seam with the 6-inch knife.
- Press the tape into the wet compound and pull the knife along it firmly. You want compound squeezing out from under the tape. Dry spots under the tape are what caused the bubbles in the first place.
- Wipe a very thin skim over the top and let it dry completely.
In a humid Florida house, use setting-type compound for this bedding coat. It hardens on a chemical timer instead of waiting on the air.
Step 3: Build and Feather
The coats after the tape are where seams become invisible.
- Second coat: use a 10-inch knife and spread compound a few inches past each side of the tape. Keep pressure on the outer edge so it thins to nothing.
- Let it dry fully. Knock off any ridges with the knife edge rather than sanding heavily.
- Third coat: wider again, very thin. On a flat seam the finished repair is often a foot or more wide.
Wider and thinner always beats narrow and thick. A narrow repair makes a hump, and humps show.
Step 4: Sand Without Ruining It
- Sand lightly with fine grit and let the sponge do the work.
- Shine a flashlight across the wall at a low angle to find ridges and shallow spots.
- Stop the moment you see paper fuzz. That means you went through the compound.
- Fill any remaining low spots with a final skim and sand again.
Step 5: Prime, Then Paint
Bare compound soaks up paint differently from painted wall, so a skipped primer coat leaves a dull or shiny stripe called flashing. Prime the full repair, let it dry, then paint at least the full width of the wall section, ideally corner to corner, for an even sheen.
Mistakes That Bring Seams Back
- Taping over loose tape instead of removing it.
- Thick coats that shrink and crack as they dry.
- Ready-mixed compound in a damp room that never cures properly.
- Over-sanding through to the paper, which then fuzzes under paint.
- Skipping primer and blaming the paint.
When It Is Not a DIY Job
Some seam failures are symptoms of something else:
- Cracks that return at the same seam every year, especially where walls meet the ceiling, can come from seasonal movement in the roof framing.
- Diagonal cracks running from door and window corners point to movement in the structure.
- Seams that bubble near an air handler or bathroom suggest ongoing moisture.
In those cases, a pro should find the cause and choose a repair that tolerates movement. Our page on professional seam and crack repair explains how that works. For a deeper look at why seams fail in the first place, read why drywall seams keep cracking.
If you have a long run of seams to redo, or the wall sits in a bright room where every flaw shows, expert drywall finishing is often the quicker route. The Patch Guyz team is veteran-owned and based in Clearwater; text a photo to 727-242-8500 for a free virtual estimate.