In a Clearwater home, water usually gets into walls in one of a few ways: wind-driven rain past a window or slider during a summer storm, a supply line or drain behind a vanity, an overflowing AC condensate pan, or a slow leak at the water heater. Because most interior walls hide the damage, the first sign is often small: a baseboard that has swelled, paint that bubbles, or a faint musty smell in a closet.
This guide walks through what to do after a water leak in your wall, from the first hour to the final repair.
How to Tell Water Is Inside the Wall
- Paint bubbling, blistering or peeling, often low on the wall
- Swollen or separated baseboards and door casings
- Drywall that feels soft or cool when pressed
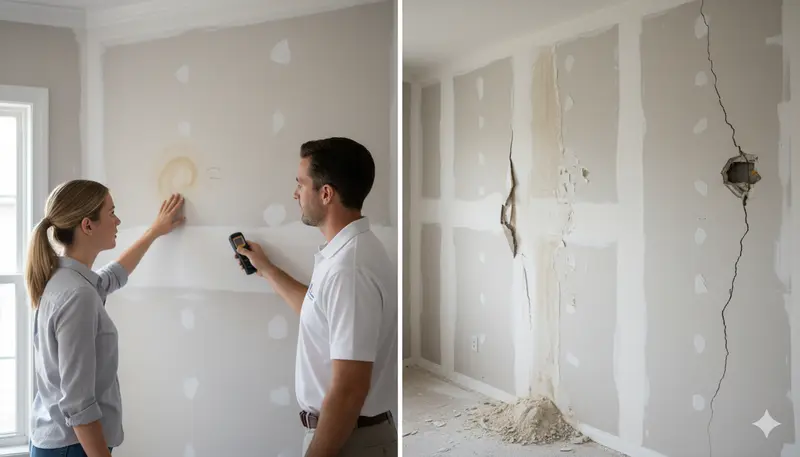
- Brown or yellow staining, sometimes with a darker edge
- A musty or earthy smell that is stronger near one wall
- Rising water bills with no obvious cause
Exterior block walls deserve special attention. Water can travel through cracked stucco and the block itself, and then show up on the interior drywall or plaster some distance from where it entered.
The First 48 Hours
Speed matters more in Florida than almost anywhere else. Warm, humid air gives mold everything it needs once the paper face of drywall stays wet.
- Stop the water. Shut off the fixture valve or the main. For roof or window leaks, tarp or towel what you can safely reach.
- Cut power if water is near outlets or switches. Turn off the circuit at the panel before touching anything.
- Document it. Take photos and video of the wall, the source and any belongings before you move them. Your insurer will want them.
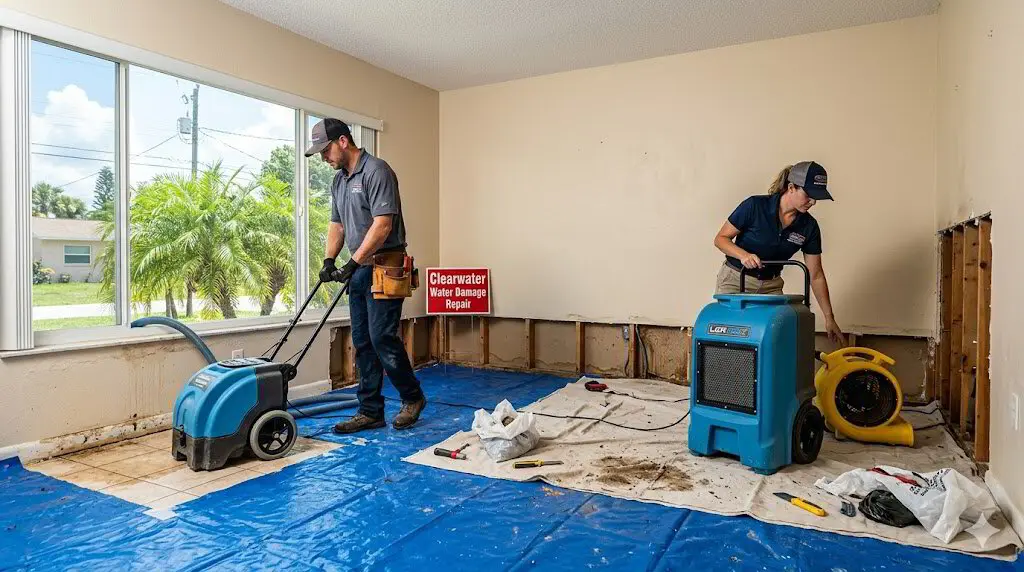
- Pull baseboards and remove wet materials. Taking off baseboards lets air into the bottom of the wall. Remove soaked insulation, rugs and pads.
- Dry aggressively. Run the AC cool, add fans and a dehumidifier, and keep closet doors open. Avoid simply shutting the room up.
- Call your insurer if the damage looks significant, and before any major demolition.
Can the Drywall Be Saved?
Sometimes. Drywall that got briefly wet from clean water and dries quickly, with no softening or staining through, can often be primed and repainted. It needs to be replaced when:
- The board is soft, crumbling or sagging
- The paper face has delaminated or blistered
- There is visible mold on the face, or a strong musty smell that does not fade
- The water was dirty, such as from a toilet overflow, drain backup or floodwater
- The stain keeps spreading after the source is fixed
In practice, many repairs mean cutting out the bottom portion of the wall above the wet line, letting the cavity dry fully, and installing new board. Moisture- and mold-resistant drywall is a good choice for the replacement section in kitchens, baths and laundry rooms.
The Repair, Step by Step
- Confirm the leak source is fixed and the cavity is dry.
- Cut the damaged drywall back to sound, dry board.
- Treat any minor surface mold on framing and replace any wet insulation.
- Install new drywall, tape and finish the seams.
- Match existing texture, prime with a stain-blocking primer and paint.
Larger or recurring mold growth is a job for a mold remediation specialist before drywall goes back up.
Preventing the Next Leak
- Check under sinks and behind toilets for slow drips a few times a year.
- Replace rubber washing machine hoses with braided lines.
- Flush the AC condensate line and check that the drain pan has a float switch.
- Re-caulk exterior windows and doors, and seal stucco cracks before rainy season.
- Keep indoor humidity in check by running the AC and bathroom fans.
Getting It Fixed in Clearwater
The Patch Guyz are based on Drew Street in Clearwater and repair water-damaged walls and ceilings throughout Pinellas County. If a plumber has already opened the wall to fix a pipe, our repairs after plumbing work service closes it up and makes it disappear. Text a photo to 727-242-8500 for a written estimate, usually within the hour. For ceiling leaks specifically, see our guide to professional water damage ceiling repair.