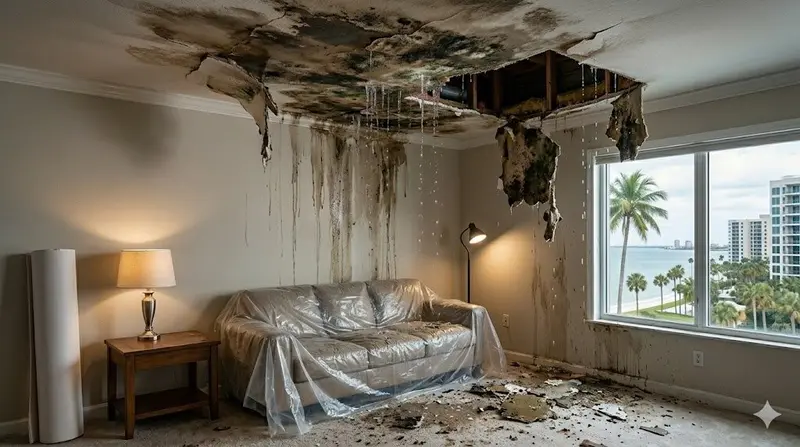
Ceilings take the brunt of water damage in Florida homes. Roofs are tested by summer downpours and hurricane-season winds, AC air handlers often sit in the attic directly above living space, and bathrooms on a second floor sit right over a first-floor ceiling. Water runs along joists and drywall seams, so the stain you see may be some distance from where the leak actually is.
This guide explains the water damaged ceiling repair process a professional follows, so you know what should happen and why.
What Causes Ceiling Water Damage in Florida
- Roof leaks around flashing, vents and skylights, especially after wind-driven rain
- AC condensate lines that clog, or drain pans that overflow
- Leaking supply lines, toilets or tubs on the floor above
- Water heaters in attics or closets
- Condensation on ducts in a hot, humid attic
Signs to Watch For
- Yellow or brown rings, often with a darker outer edge
- Bubbling or peeling paint
- Drywall that droops or bellies downward
- Cracks along ceiling seams that appear suddenly
- Dripping at light fixtures or smoke detectors
- A musty smell in the room
A sagging ceiling is a safety issue. Wet drywall is heavy and can come down without warning. Keep people and pets out from under it, move belongings, and if water is pooled above it and you can do so safely, puncture a small hole at the lowest point with a screwdriver and let it drain into a bucket.
Step 1: Find and Fix the Source
No ceiling repair should start until the leak has been fixed. That may mean a roofer, a plumber or an AC technician. A good drywall contractor will ask what caused the damage and confirm it is resolved before quoting.
Step 2: Assess and Measure Moisture
Professionals check how far the water travelled, which is often further than the visible stain. Using a moisture meter and by pressing gently, they map out board that is soft or still wet. Insulation above the ceiling is checked too, since soaked insulation holds water against the drywall.
Step 3: Decide Whether to Patch or Replace
- Stain only, board firm and dry: seal with a stain-blocking primer and repaint. No drywall replacement needed.
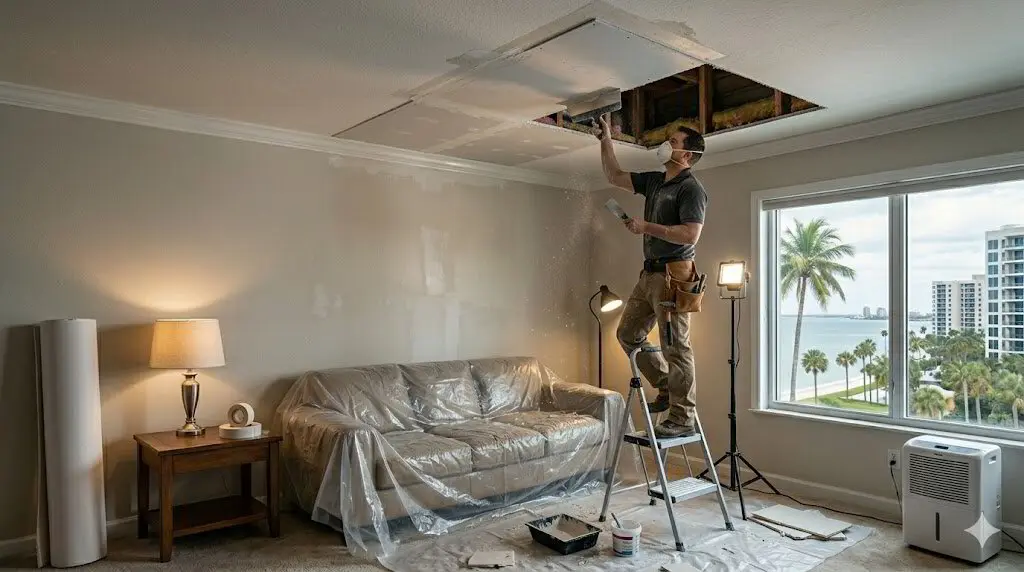
- Localized soft or damaged area: cut out the affected section back to framing, then install and finish a new piece.
- Widespread sagging, crumbling board or mold: replace a larger section, sometimes the whole ceiling plane.
If there is extensive mold, a remediation specialist should handle it before new drywall goes up.
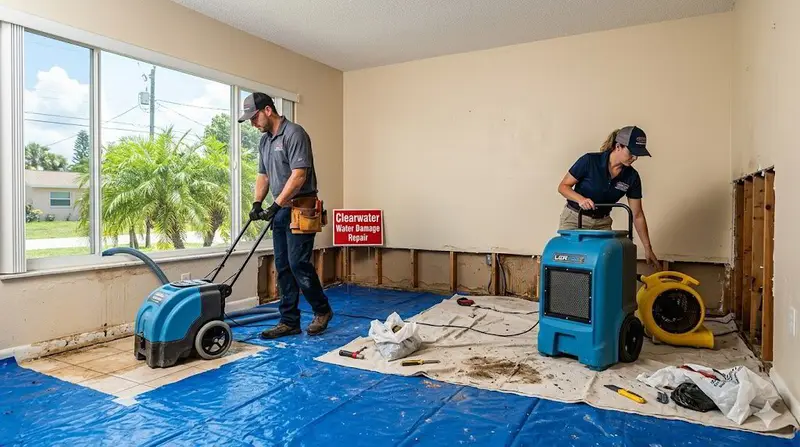
Step 4: Dry Out the Cavity
Once damaged board is removed, the joists and space above must dry completely. Wet insulation is replaced. Closing up a damp cavity in Florida humidity is a recipe for mold and a repeat repair.
Step 5: Install and Finish
New drywall is fastened to the joists, often with added backing at the edges of the opening. Joints are taped, coated and feathered so the patch is flat with the existing ceiling. Ceilings are less forgiving than walls because light from windows and fixtures rakes across them, so the finish needs to be smooth.
Step 6: Match Texture and Paint
Most Florida ceilings are textured: knockdown, orange peel or popcorn. The repair has to blend in.
- Knockdown and orange peel can be matched with spray texture and hand technique.
- Popcorn ceilings in homes built before the mid-1980s should be tested for asbestos before the damaged area is disturbed. Many homeowners choose to remove the popcorn entirely and refinish the whole ceiling instead of patching it.
Primer goes on before paint, and often the whole ceiling is repainted so the repair does not show as a different shade.
Insurance Notes
- Photograph the damage before anything is removed.
- Keep records of the cause, any plumber or roofer invoices, and drying steps you took.
- Ask your contractor for a written quote that clearly describes the repair. The Patch Guyz provide a written quote that is the final price.
Preventing the Next Ceiling Leak
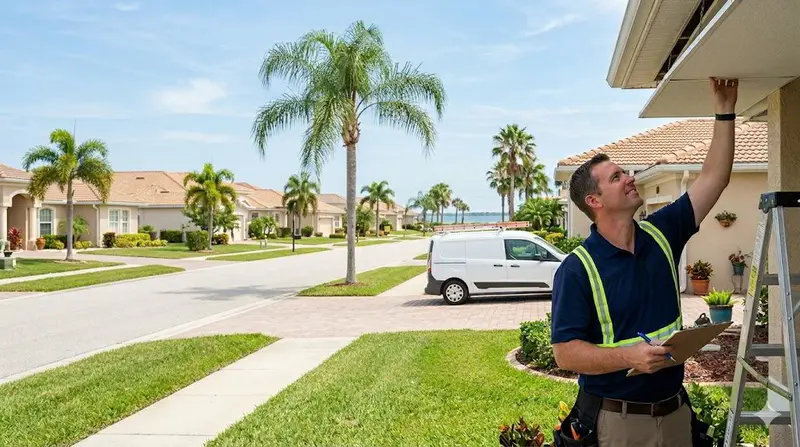
- Have the roof inspected before hurricane season and after major storms.
- Flush the AC condensate line regularly and install a float switch on the drain pan.
- Check upstairs bathrooms for failed caulk and slow leaks.
- Make sure attic ducts are sealed and insulated to prevent condensation.
Getting It Repaired
The Patch Guyz repair water-damaged ceilings across West Central Florida, with HEPA dust control and a 1-year written workmanship warranty. Learn more about our ceiling and wall repair service, see our ceiling repair team in Wesley Chapel, or read what to do after a water leak in your walls. Text a photo to 727-242-8500 for an estimate, usually within the hour.