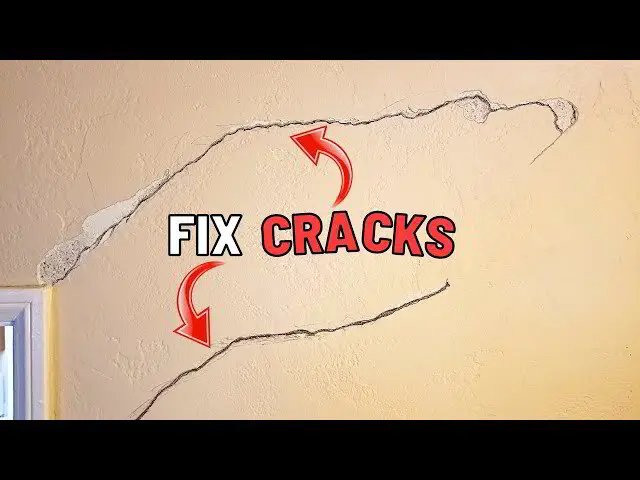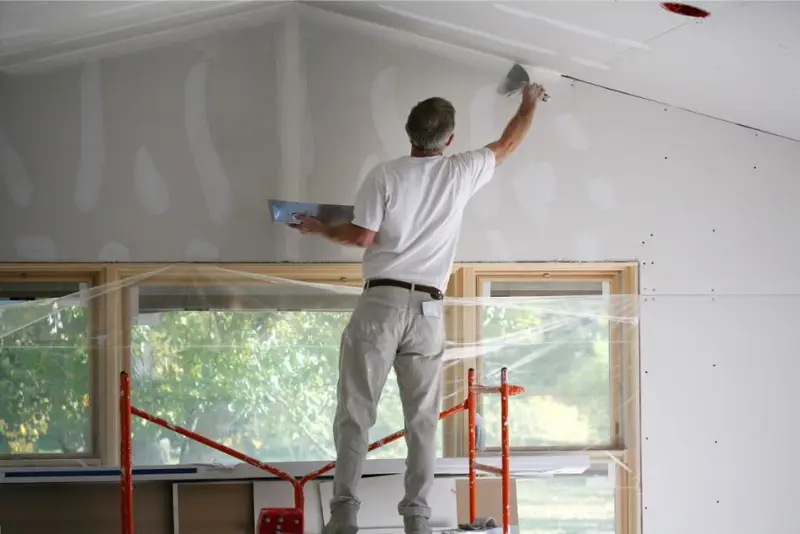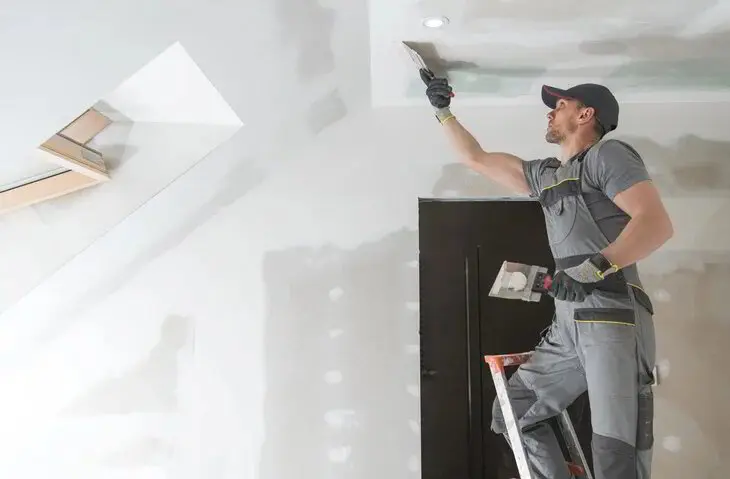
Walk into ten Tampa Bay homes and you will find ten different wall problems: a cratered hallway corner, a bathroom wall that has bubbled from humidity, a 1950s plaster bedroom with a spiderweb of cracks, a living room full of anchor holes from the last owner's shelving. There is no single "best" restoration technique. The best result comes from matching the method to the damage.
Below are the core techniques professional finishers use, what each is good for, and what goes wrong when the wrong one is chosen.
Start With a Diagnosis
Before choosing a technique, answer three questions:
- What is the wall made of? Drywall, plaster on lath, or plaster applied directly over concrete block, which is common on exterior walls in older Florida homes.
- Is the damage active? A crack that reopens, a stain that grows, or drywall that is still damp means there is a cause to fix first.
- How big is it, and is it on a seam, a corner or open field?
Getting these right decides everything else.
Technique 1: Spot Fill for Small Damage
Nail holes, small dents and minor dings get a lightweight compound pressed in with a flexible knife, left slightly proud, then sanded flush once dry. Simple, but two details matter in Florida: let it dry fully because humidity slows curing, and prime the spot before painting so it does not show through.
Technique 2: The California Patch (Butterfly Patch)
For holes roughly fist-sized, a California patch is fast and clean. A square of drywall is cut slightly larger than the hole, the gypsum is scored and snapped away from the edges while the paper face is left intact, and the paper "wings" bond to the wall like tape. No backing is needed. It is ideal for doorknob holes and outlet-sized openings.
Technique 3: Backed Patch or Cut-and-Replace
Anything larger, or any section that is soft or water-damaged, should be cut back to a clean rectangle. Wood or metal backing goes in behind the edges, or the cut is taken to the nearest studs, and a new piece is screwed in, taped, and finished with several coats. This is the right approach after plumbing or HVAC access holes. Our team does this daily as part of drywall repair after HVAC work.
Technique 4: Re-Taping Failed Seams
A crack running dead straight along a seam usually means the original tape has let go. Smearing compound over it is a short-term fix. The lasting repair is to remove the loose tape, re-embed new tape in a proper bed of compound, and feather it out wide. Using setting-type compound for the bedding coat adds strength in rooms that see temperature and humidity swings.
Technique 5: Skim Coating
Skim coating means applying a thin coat of compound over an entire wall or ceiling, then sanding it smooth. It is the answer when:
- A wall has many small repairs that would otherwise show as a patchwork
- Paint has been peeled off and left torn paper behind (seal torn paper with a suitable primer first)
- You want a smooth Level 5 finish where raking light reveals every flaw
- Texture is being removed
A well-executed skim coat is what makes an older, battered wall look new. Our drywall finishers skim walls and ceilings regularly for exactly these reasons.
Technique 6: Plaster Bonding and Patching
Plaster does not behave like drywall. Cracks need to be opened slightly, cleaned, and treated with a bonding agent so new material grips the old. Loose plaster on lath can often be re-attached with plaster washers instead of torn out. Patching with plaster-compatible materials keeps the wall's character and avoids a hard edge between old and new. See our plaster repair page for more, or read the step-by-step guide to repairing plaster cracks in Florida.
Technique 7: Texture Matching
On textured walls, the repair is not finished until the texture matches. Orange peel is sprayed. Knockdown is sprayed or splattered and then flattened with a knife once it starts to set. Hand-troweled textures are recreated by hand. The trick is practicing on scrap board first and blending the edges into the existing wall instead of stopping at a hard line.
Common Mistakes That Make Repairs Visible
- Patching over damp drywall, which leads to mold and bubbling later
- Building a patch up thick instead of feathering it wide
- Skipping primer, so the patch "flashes" through the paint
- Sanding with no dust control, which spreads gypsum dust through the AC system
- Ignoring the cause, such as a leak, movement or humidity, so the damage returns
DIY or Professional?
Spot fills and a California patch are reasonable homeowner projects. Re-taping long seams, skim coating whole walls, plaster restoration and texture matching take practice to get invisible. The Patch Guyz use HEPA dust control on every job, give a written quote that is the final price, and back the work with a 1-year written workmanship warranty. Text a photo to 727-242-8500 for an estimate, usually within the hour.