Walk into any home improvement store in Hillsborough County and the drywall aisle offers dozens of compounds, tapes, patches and tools. Most homeowners grab the first tub of spackle they see — and that's often why repairs crack, shrink or show through paint.
These tips focus on one thing: matching the material to the repair. Get that right and even a first-time repair has a good chance of disappearing.
The basic hand tools
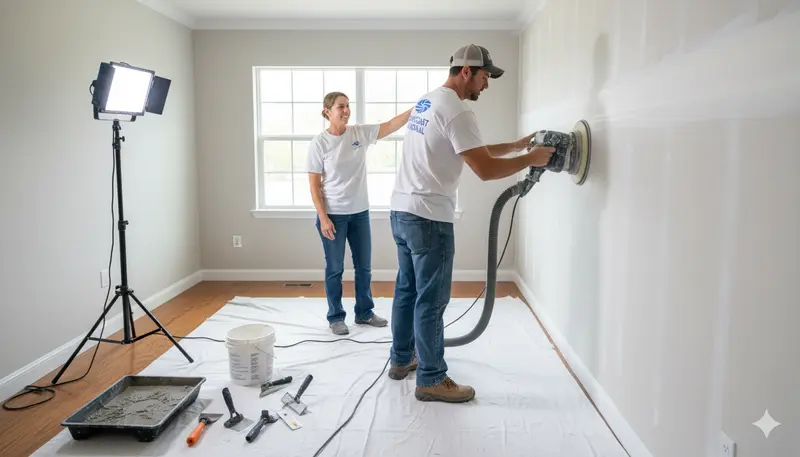
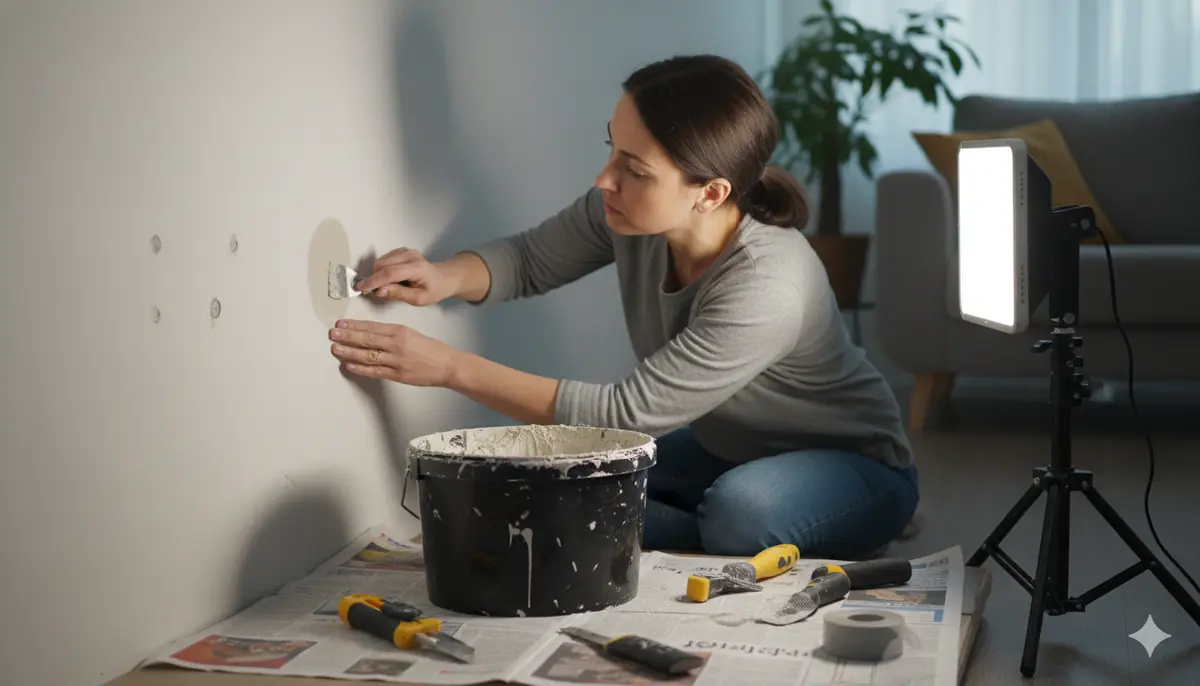
You don't need a professional's full kit for occasional repairs. A practical starter set:
- A 4-inch or 6-inch taping knife for filling and first coats
- A 10-inch or 12-inch knife for feathering wider final coats
- A mud pan to hold compound and clean your knife edge
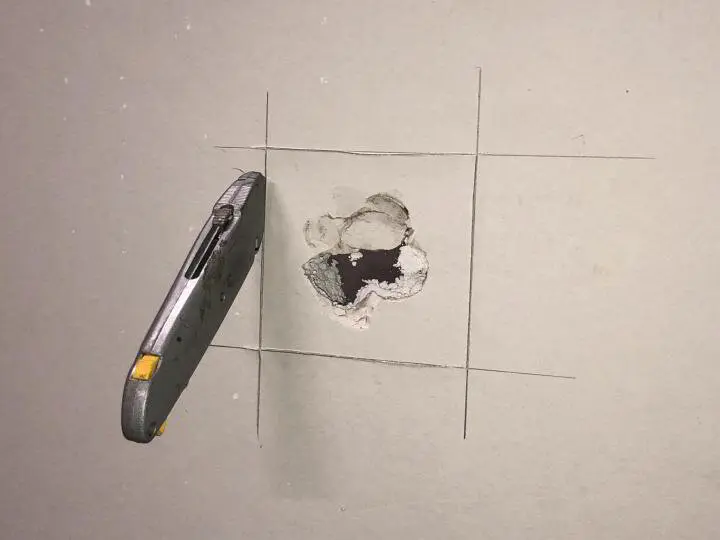
- A sharp utility knife with spare blades
- A drywall jab saw for cutting out damaged sections
- A sanding sponge or sanding block (medium and fine grit)
- A work light you can hold at a low angle to spot ridges and dips
- A tape measure and pencil
Avoid putty knives with flexible plastic blades for anything beyond nail holes; they don't leave a flat surface.
Choosing the right compound
This is where most DIY repairs go wrong.
Lightweight spackle
Best for nail holes, small dings and anchor holes. It dries quickly with little shrinkage and sands easily. It's not strong enough for bedding tape or filling large holes.
Premixed all-purpose joint compound
The standard for taping seams and finishing patches. It's easy to spread and sand but dries by evaporation, so it shrinks and can take a long time to dry in humid conditions.
Lightweight or "topping" compound
A premixed product designed for final coats. It sands more easily than all-purpose compound but isn't ideal for embedding tape.
Setting-type compound (powder you mix)
Sold by working time, such as 20, 45 or 90 minutes. It hardens by chemical reaction rather than drying, so it sets reliably even in Florida humidity, shrinks less and is harder once cured. It's ideal for filling deep holes, first coats on patches, and repairs in bathrooms. The trade-off: it's harder to sand, so many pros use it for the first coat and a premixed compound on top.
Mesh tape vs. paper tape
- Self-adhesive fibreglass mesh tape is easy to apply and good for patches and flat seams. Use it with setting compound for the strongest bond, as mesh over premixed compound alone is more likely to crack.
- Paper tape is stronger at resisting cracks, essential for inside corners (it folds cleanly) and preferred for seams that have cracked before. It must be fully embedded in compound to avoid bubbles.
Patches and backing
- Self-adhesive metal or mesh patches: quick for holes up to a few inches on smooth walls.
- California patch (a piece of drywall with its paper face left wider than the gypsum): a tidy method for medium holes.
- Backing strips or wood cleats: for larger holes where you cut out a square and screw in new drywall.
- Matching board thickness: most interior walls use half-inch drywall, but always measure the existing board before buying.
For step-by-step patching methods by hole size, see our guide on how to fix drywall holes.
Primer and paint
Every repair needs primer before paint. Joint compound is porous, and unprimed patches absorb paint unevenly and show as dull spots. For water-stained areas, use a stain-blocking primer.
Safety gear
- A dust mask or respirator rated for fine particles
- Safety glasses, especially for ceiling work
- Plastic sheeting and painter's tape to contain dust
- A shop vacuum with a fine-dust filter
If your home was built before the mid-1980s, have popcorn or textured ceilings tested for asbestos before you cut, scrape or sand them, and be cautious about sanding old painted surfaces that may contain lead.
Working in Florida humidity
- Keep the AC running to dry the air while compound cures
- Use setting compound for first coats so you're not waiting days for deep fills to dry
- Apply thin coats; thick coats of premixed compound dry slowly and crack
- Don't prime until compound is fully dry and uniformly light in colour
When your toolkit isn't enough
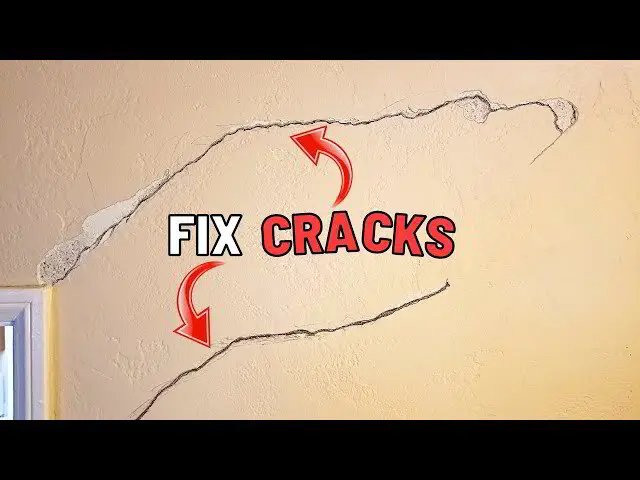
Some repairs call for more than a homeowner kit: water-damaged ceilings, long seam cracks, texture matching across a wall, or anything near a moisture source. Knowing when to stop is as valuable as any tool.
Our Hillsborough County drywall repair team handles those larger jobs, and our drywall finishers take care of seamless, paint-ready surfaces. If you're in southern Hillsborough, our Riverview drywall contractors page has local details. Text a photo to 727-242-8500 for a free written estimate.