When you hire a painting service, you are paying for a result you will look at every day for years. Two companies can quote the same rooms with the same paint, and one result will look flawless while the other shows every nail hole and seam by next summer. The difference is almost always in the process, especially the steps before the first coat.
Here is what a thorough interior painting process looks like, step by step, and where Tampa Bay's climate changes things.
Step 1: Consultation and Walkthrough
A good painter walks the rooms with you and asks:
- Which rooms, walls, ceilings, trim and doors are included
- Colours and sheens for each surface
- Existing problems: cracks, stains, holes, peeling paint
- What furniture stays in the room
- Timing and access
This is also when you should point out every flaw you want fixed. If it is not in the quote, it may not be repaired.
Step 2: A Written Scope
The quote should name each surface, the number of coats, the primer, the paint line and sheen, and the prep included. Vague quotes like "paint living room" leave too much room for shortcuts.
Step 3: Protecting the Home
Before any work:
- Furniture is moved to the center and covered
- Floors are covered with drop cloths
- Outlet and switch plates are removed
- Fixtures, hardware and anything not being painted are masked
Step 4: Surface Repairs
This is where a quick paint job and a professional one part ways. Paint does not hide flaws; it highlights them, especially in sheen finishes and rooms with strong light.
Repairs before painting typically include:
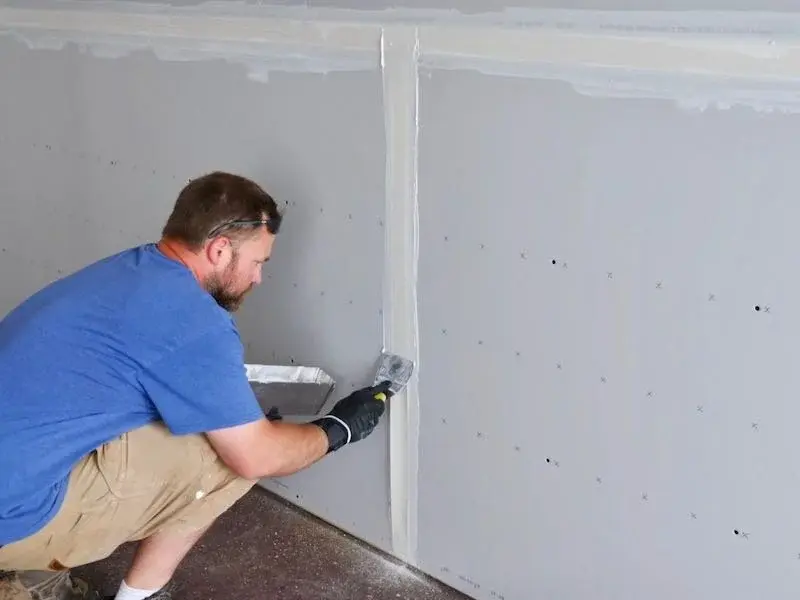
- Filling nail and anchor holes
- Patching doorknob holes and dents
- Re-taping peeling or cracked seams
- Resetting nail pops
- Repairing cracked corner bead
- Matching wall texture over every patch
- Sealing water stains with a stain-blocking primer
Many painters handle small fills but stop short of larger drywall repairs or texture matching. In that case, a drywall specialist should finish those repairs before painting starts. Our page on drywall painting prep explains how that handoff works.
Step 5: Cleaning and Sanding
Walls collect dust, grease and residue, especially in kitchens and around switches. Cleaning and a light sanding give the new paint something to grip. Glossy existing paint may need a scuff sand or bonding primer.
Step 6: Priming
Primer is not always needed over sound, clean, similar-colour paint. It is essential over:
- All patched and repaired areas, to prevent flashing
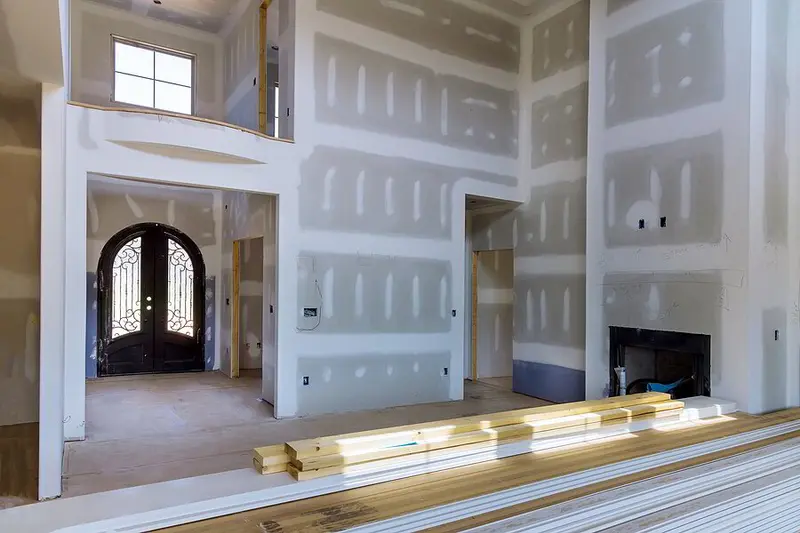
- New drywall
- Water, smoke and tannin stains
- Big colour changes, especially dark to light
- Glossy surfaces
Step 7: Caulking
Gaps between trim and walls, at baseboards and around door casings are caulked so the finished paint lines look crisp.
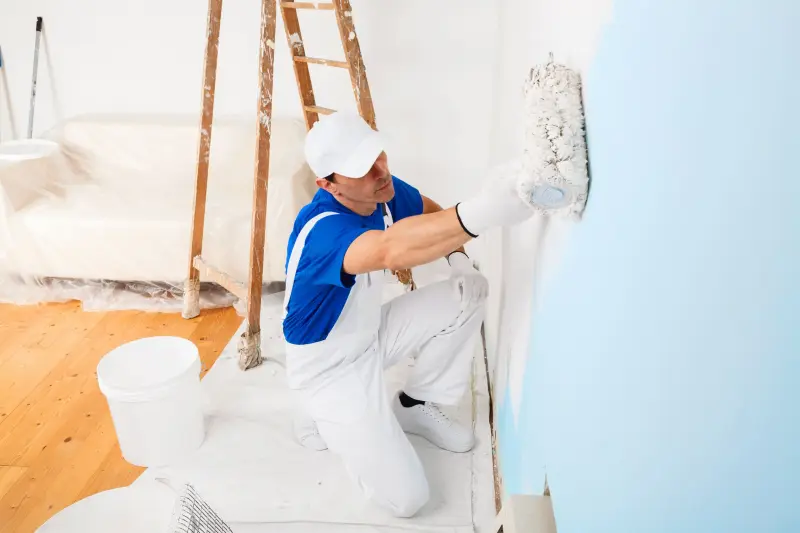
Step 8: Cutting In and Rolling
Edges along ceilings, corners and trim are brushed first, then walls are rolled in consistent sections to avoid lap marks. Most walls get two finish coats for full, even colour.
Step 9: Trim, Doors and Ceilings
Ceilings are usually painted first, then walls, then trim and doors. Trim typically gets a harder-wearing semi-gloss or satin.
Step 10: Clean-Up and Final Walkthrough
Masking comes off, plates go back on, furniture returns, and you walk each room with the painter. Look at walls from an angle and in daylight. Touch-ups should be done on the spot.
How Tampa Bay Humidity Affects a Paint Job
- Drying and curing slow down. Recoat times on the can assume moderate humidity. In muggy conditions, painters need to wait longer between coats.
- Keep the AC running during and after painting so the paint cures properly.
- Bathrooms and laundry rooms benefit from paints formulated for humid areas.
- Patches made with ready-mixed compound need extra drying time in summer before primer goes on.
- Avoid painting rooms with open windows on wet days.
Choosing Sheens Sensibly
- Ceilings: flat
- Living areas and bedrooms: flat, matte or eggshell
- Kitchens and baths: satin or a scrubbable matte
- Trim and doors: semi-gloss or satin
Glossier paints show surface flaws more, so rooms with eggshell or satin walls need more careful prep.
Where The Patch Guyz Fits
We are a veteran-owned drywall repair company based in Clearwater, not a painting service: we don't paint rooms or whole houses. We handle the repair stage before your painter arrives: fixing holes, seams, cracks, nail pops and ceiling water stains, matching texture, priming every repair and touch-up painting the repaired spots. Daryl, our paint supervisor, checks that the patches blend, and HEPA dust control means your painter starts in a clean room.
If you are in the city, our Tampa drywall contractor page covers local service. For more about getting repairs flat before paint, see our page on drywall finishing.
Planning to do some of the prep yourself? Our checklist of what to do before interior painting is a good place to start. Text photos of the damaged areas to 727-242-8500 for a free virtual estimate on the repair work, usually returned within the hour.