Some cracks are a one-time nuisance. Others come back every season, right through the spackle you used last time. If that is your situation, the fix is not more filler. It is reinforcement: embedding drywall tape across the crack so the wall surface can handle small movements without splitting again.
This step-by-step guide shows how to do a taped crack repair properly at home.
Before you start: understand the crack
Take a minute to look closely. The cause affects how you repair it.
- Seam cracks run in a straight line, often along the edge of a sheet or across a ceiling. The original tape may have failed.
- Corner cracks run where two walls, or a wall and ceiling, meet.
- Diagonal cracks angle up from door and window corners where stress concentrates.
- Random cracks in the middle of a sheet may follow an old repair.
If the crack is wide, one side is higher than the other, or doors have started sticking, pause. That can point to movement that needs more than a cosmetic repair. If the wall is plaster rather than drywall, as in some older Florida homes, the process is different – see our plaster repair service.
Tools and materials
- Utility knife
- Paper tape (best for inside corners and most cracks) or self-adhesive mesh tape (handy for flat-wall cracks)
- All-purpose joint compound, plus setting-type compound if you use mesh
- 6-inch and 10- or 12-inch drywall knives
- Mud pan
- Fine sanding sponge or pole sander
- Drop cloth and painter's tape
- Primer and paint, and texture material if your walls are textured
Paper or mesh?
Paper tape is stronger once properly embedded and creases neatly for corners. Mesh tape is easier to apply but should be covered with setting-type compound, which is harder and resists cracking better than premixed compound over mesh. Either works if done carefully.
Step 1: Remove the old repair
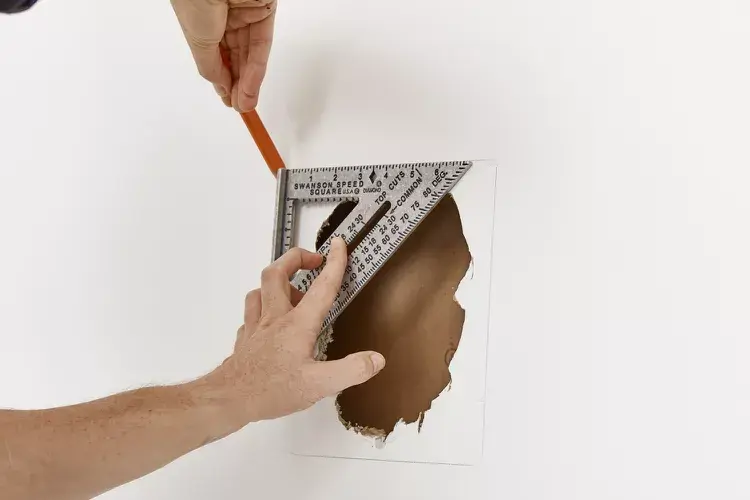
Use a utility knife to cut out loose paper, failed tape and old filler along the crack. If tape is bubbled or peeling, cut it away until you reach tape that is firmly stuck. Lightly sand ridges flat.
Step 2: Fill the gap
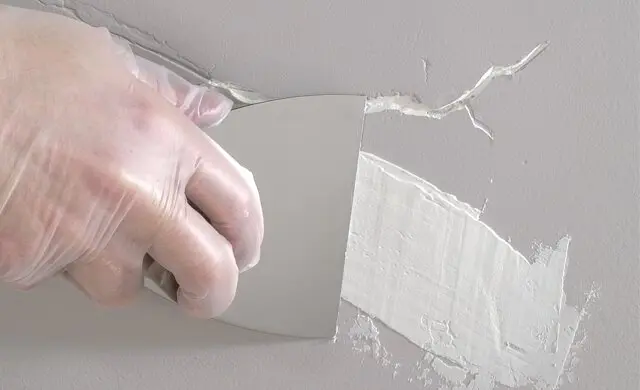
Press a little compound into the crack itself and scrape it flat. This gives the tape a solid bed and prevents a hollow spot behind it.
Step 3: Embed the tape
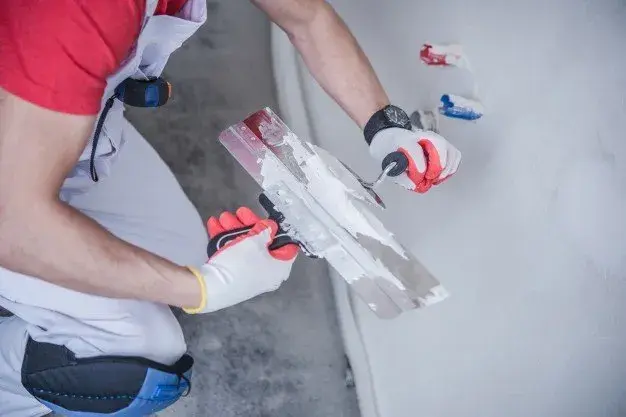
For paper tape, spread a thin, even layer of compound a little wider than the tape. Lay the tape centred over the crack and pull your 6-inch knife along it firmly, squeezing out excess compound from underneath. No air bubbles, no dry spots. For inside corners, fold the tape along its crease and work one side at a time.
For mesh tape, stick it over the crack first, then apply setting-type compound over it.
Step 4: Apply the second coat
Once the first coat is completely dry, use a wider knife to spread a thin coat that extends a couple of inches past the tape on each side. Feather the edges until they vanish into the wall.
Step 5: Apply a finish coat
Add a third very thin coat, wider again. The aim is a repair you can feel only with your eyes closed – and ideally not even then. Several thin coats always beat one thick one.
Step 6: Sand carefully
Sand with light pressure. Hold a work light at a low angle against the wall to reveal ridges and dips. Wipe away dust before moving on.
Step 7: Match the texture
Most Florida walls are not smooth – orange peel and knockdown are common. A smooth repair on a textured wall stands out. Spray-can texture works for small areas; larger repairs are easier with a hopper gun. Practice on cardboard first. For tricky or large areas, our texture matching team can blend it for you.
Step 8: Prime and paint
Prime the whole repaired area, including the texture. Then paint the wall from corner to corner rather than just dabbing the patch, which helps avoid visible sheen differences.
Keeping it from cracking again
- Keep indoor temperature and humidity steady; running the AC through the Florida summer helps
- Fix the source if a crack follows a leak or a stain
- Avoid slamming doors hard on walls that already show diagonal cracking
When to bring in a pro
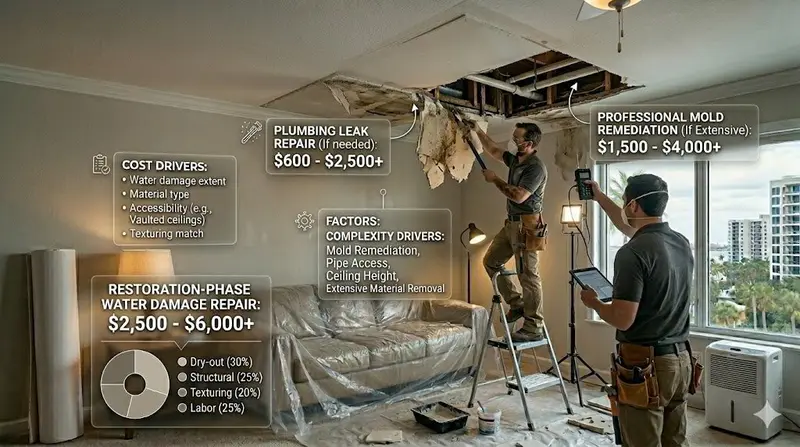
Long ceiling cracks, multiple cracks in one room, cracks with stains and walls you have repaired more than once are good reasons to call for help. Our seam and crack repair service re-tapes and refinishes them with HEPA dust control and a 1-year written workmanship warranty. For tiny hairline cracks that only need a quick fill, see our quick same-day crack fix.