Drywall repair is less about skill with a knife and more about choosing the right method for the damage in front of you. A nail hole and a doorknob hole look like the same problem at different sizes, but they need very different fixes. Use the wrong one and the patch cracks, sinks or shows through the paint.
Here is how to match the method to the damage.
Start with three questions
Before choosing a method, ask:
- How big is it? Pinhead, coin, fist or larger?
- Is the drywall around it solid? Press around the edges. Crumbling or soft board must be cut back.
- Was water involved? If so, the source must be fixed and the area dry before any patch goes on.
Dents, dings and nail holes
Method: fill and feather.
- Scrape away any raised paper or paint
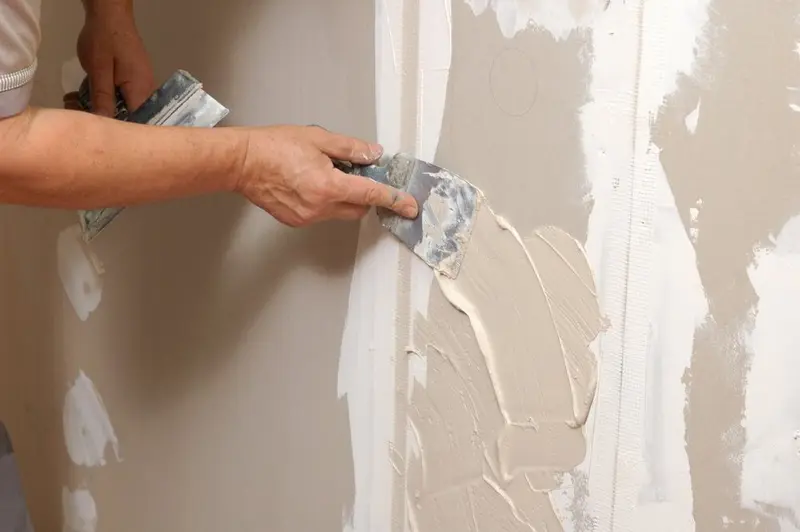
- Fill with lightweight spackle or joint compound
- Let it dry, apply a second thin coat if it shrinks
- Sand lightly, spot-prime and paint
That is all these need. Over-filling and heavy sanding create more work than the original hole.
Nail and screw pops
Method: reset, then fill.
Pushing the old nail back in rarely lasts. Instead, drive a drywall screw into the stud just above or below the pop to pull the board tight, then reset or remove the old fastener. Fill both spots, sand, prime and paint.
Coin- to palm-size holes
Method: self-adhesive mesh patch or a California patch.
- Mesh patches stick over the hole and are covered with two or three thin coats of compound. They are quick but can leave a slight bulge if not feathered widely.
- A California patch (also called a butterfly patch) uses a piece of drywall cut slightly larger than the hole, with the gypsum scored away around the edges so only the paper face remains. The core fills the hole and the paper flange acts as tape. It sits flatter than a mesh patch.
Fist-size holes and electrical cut-outs
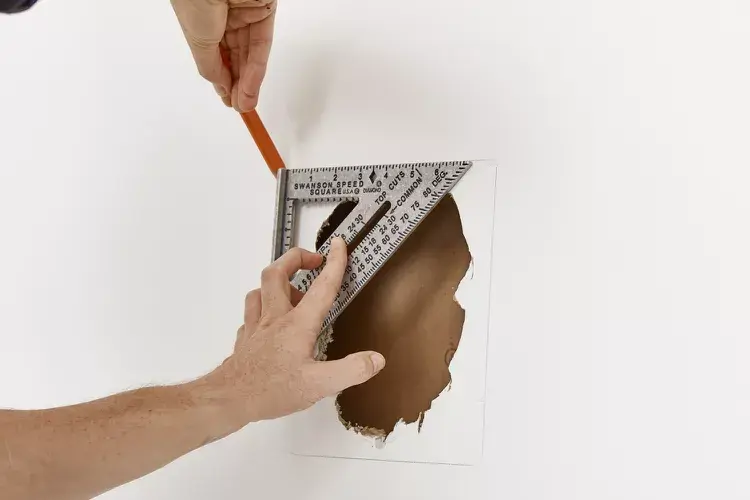
Method: square cut-out with backing.
- Draw a neat square or rectangle around the damage and cut it out
- Check inside for wires and pipes before cutting
- Screw wood strips or a backing clip inside the opening
- Cut a new piece of drywall to fit and screw it to the backing
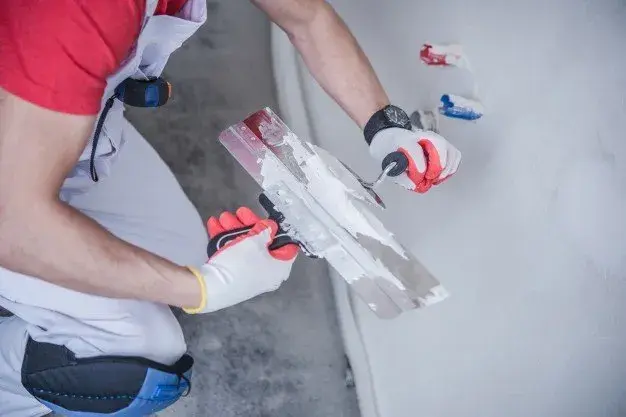
- Tape all four seams and apply three coats, feathering wider each time
This is the standard approach for openings left by electricians and plumbers. Our page on repairs after electrical work explains how we handle those openings around new boxes and fixtures.
Large damaged sections
Method: cut back to studs.
When damage is larger than a sheet of paper, or spans a stud, cut the opening back to the centre of the nearest studs on each side. That gives the new piece solid support along its edges. Add blocking along the top and bottom if needed.
Water-damaged drywall
Method: remove, dry, replace.
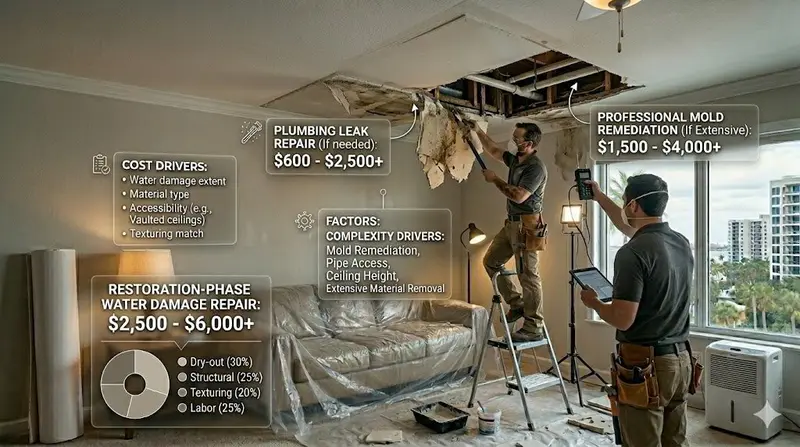
Soft, stained or mouldy drywall should be cut out a little beyond the visible damage. Check the insulation and framing behind it. Let the cavity dry fully – in humid Florida weather, run the AC and use fans – before installing new board. In bathrooms and laundry rooms, moisture-resistant drywall is a sensible choice.
Ceilings
Ceiling repairs follow the same methods, with two differences: gravity and texture. Patches overhead need solid backing and more fasteners. Many Florida ceilings have orange peel, knockdown or popcorn texture, and blending it is often the hardest part. If the home was built before the mid-1980s, test popcorn texture for asbestos before disturbing it.
Finishing that makes any method work
Whatever method you choose, the finish determines whether anyone notices it:
- Thin coats. Several thin coats beat one thick one.
- Feather wide. The final coat should extend well past the patch.
- Light raking light. Hold a flashlight at a low angle to spot ridges.
- Match the texture. Smooth patches on textured walls stand out.
- Prime before painting. Bare compound flashes through paint.
For more practical pointers on the finishing stage, our post on expert tips for interior drywall repair covers common mistakes.
When to hand it over
Water damage, ceiling repairs, multiple patches in one room and anything involving texture matching tend to go faster with a professional. The Patch Guyz offers free virtual estimates: text a photo to 727-242-8500 and get a written estimate, usually within the hour. See our drywall repair service for the kinds of damage we fix, or our page for drywall repair in Brandon if you are in eastern Hillsborough.