Painting a room is one of the most satisfying home projects – when it goes in the right order. Do things out of sequence and you end up dripping ceiling paint on finished walls, re-taping trim twice or rolling over dust you forgot to wipe away.
This guide walks through the full sequence for painting one room, from empty floor to final touch-up.
Day one: set the room up
1. Empty or centre the furniture
Move what you can out of the room. Push large pieces to the middle and cover them with plastic. Leave a clear walkway around every wall.
2. Remove what you can
Take down curtains, rods, pictures, shelves, outlet covers and switch plates. Put screws in labelled bags taped to each item.
3. Protect the floor
Canvas drop cloths are safer underfoot than plastic, which gets slippery. Tape the edges along baseboards if you have hard floors.
4. Inspect walls and ceilings
With a bright light held at a low angle, look for holes, dents, cracks, nail pops and stains. Mark each with a small piece of painter's tape so nothing gets missed.
Day one continued: repair and clean
5. Make the repairs
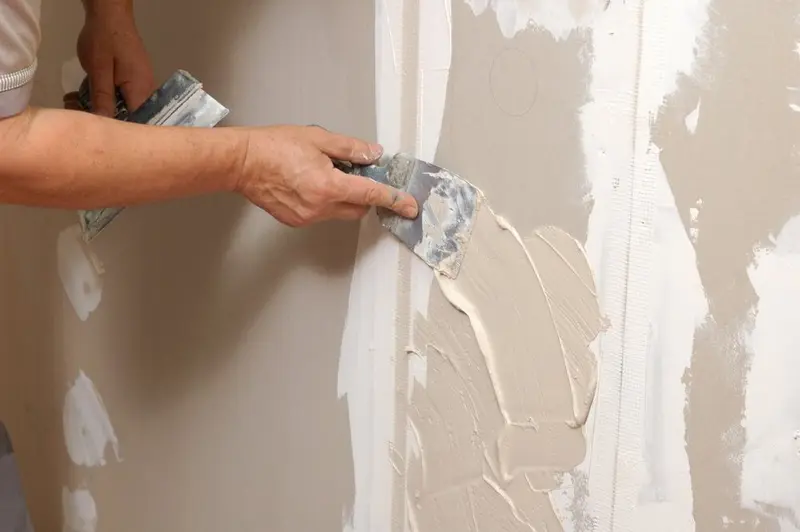
Fill small holes with spackle and larger damage with joint compound and a proper patch. Re-tape any cracked seams. Repairs need time to dry before sanding, and Florida humidity can slow that down, so run the AC.
If you find water stains, bubbling or soft spots, stop and find the cause. Painting over active moisture will fail. Bigger repairs are easier to hand off – see our wall and ceiling repair service.
6. Sand and clean
Lightly sand patches flush. Wipe walls with a damp cloth to remove dust, and wash any greasy areas in kitchens and near light switches with a mild cleaner. Paint does not stick well to dirt.
7. Prime
Prime every patch and any stains. Stains from old leaks need a stain-blocking primer or they will bleed through. If you are making a big colour change, a full coat of tinted primer can save a finish coat.
Day two: paint from the top down
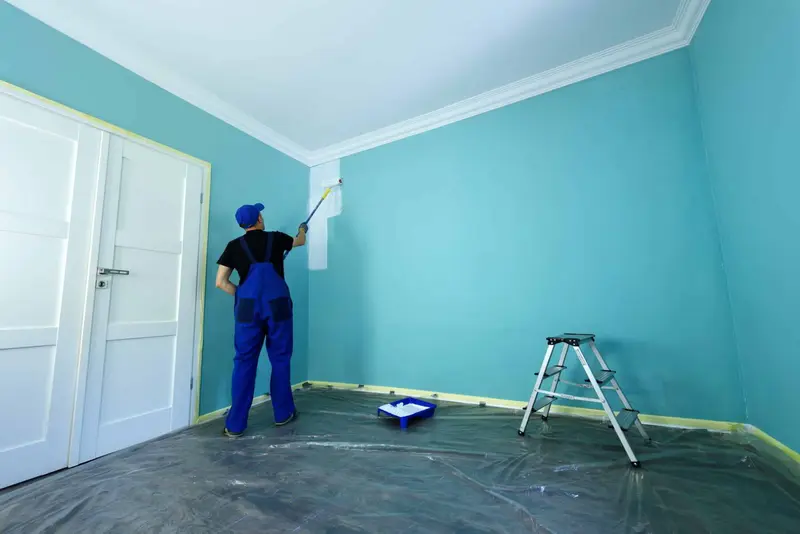
8. Ceiling first
Cut in around the edges of the ceiling with a brush, then roll the ceiling in sections. Flat ceiling paint hides small imperfections best. If your home has popcorn texture and was built before the mid-1980s, avoid scraping or heavy rolling until the texture has been tested for asbestos.
9. Walls second
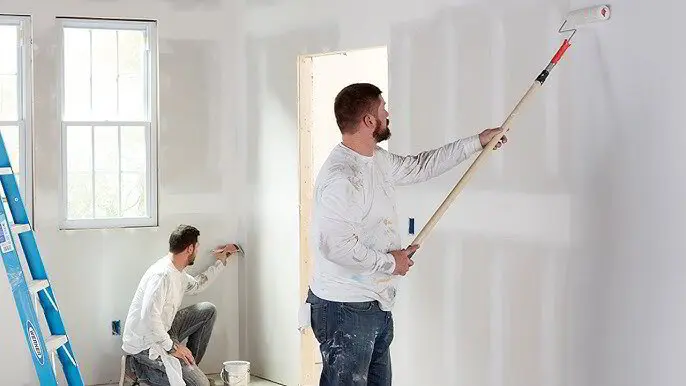
Once the ceiling is dry, tape the ceiling line if you need a guide, then cut in along ceilings, corners and trim. Roll each wall from top to bottom while the cut-in edge is still wet so they blend. Finish one wall completely before starting the next.
10. Second coat
Most rooms need two finish coats. Allow drying time between coats according to the can – longer if the room is humid. A second coat applied too early can drag or peel the first.
11. Trim and doors last
Paint baseboards, door frames and doors once walls are dry. Use a semi-gloss or satin enamel for durability. Many painters prefer cutting trim in freehand with a quality angled brush rather than taping.
Day two or three: finish up
12. Remove tape at the right time
Pull painter's tape while the last coat is still slightly soft, at a low angle. Waiting until it is rock-hard can tear the paint film.
13. Reinstall and inspect
Put back covers, hardware and furniture. Inspect the room in daylight and at night – different light shows different flaws.
14. Keep a touch-up kit
Label a small container with the colour and room. Keep a little of each paint for future touch-ups.
Florida-specific painting tips
- Keep the AC on. It lowers humidity and helps paint cure properly.
- Avoid open windows on muggy days. Humid air slows drying and can cause surfactant streaks on bathroom walls.
- Use moisture-resistant paint in bathrooms and laundry rooms.
- Plan around storm season, when you may need to close up the house quickly.
When to get help
If the walls need more than minor fixes – water damage, texture matching, multiple holes or failing seams – the prep becomes the bigger job. Our drywall painting prep service repairs, sands and primes so your walls are ready for paint. We don't paint the room itself, so the rolling stays with you or your painter. We serve homeowners across Pinellas County, including Largo. For ways to keep your painting budget in check, read our cost-saving tips for interior painting.