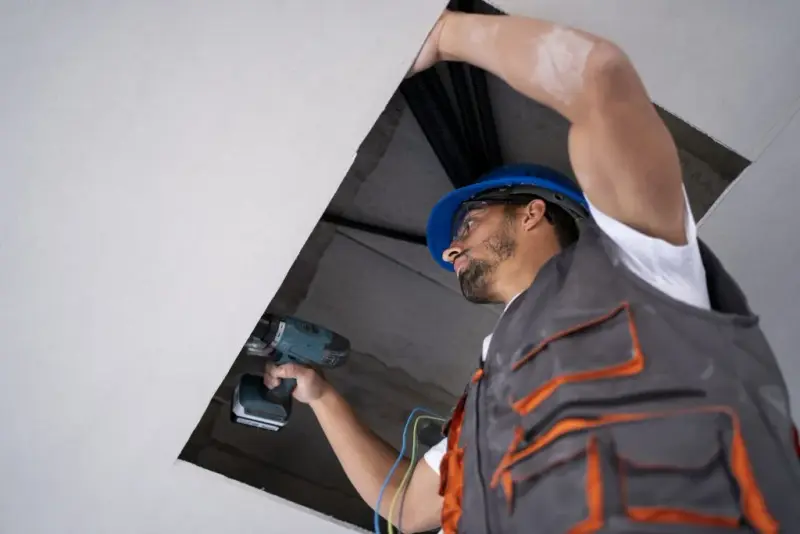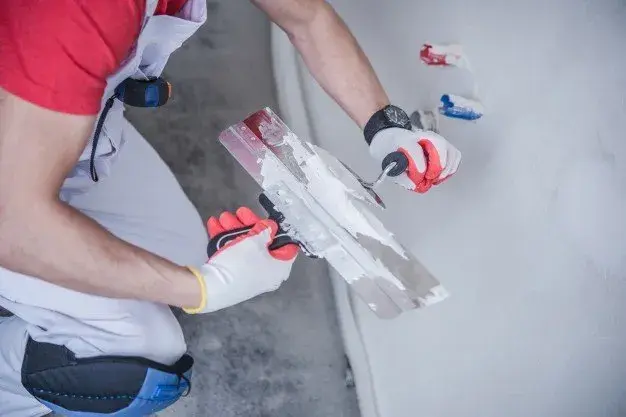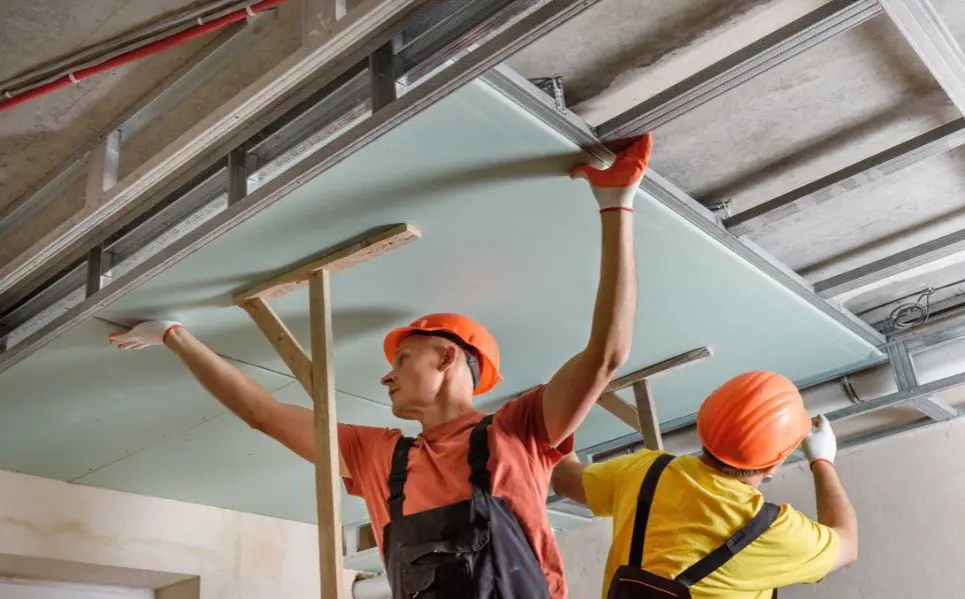
The basic method for hanging drywall doesn't change from state to state. What changes is how forgiving the environment is. In Tampa, humidity, concrete block construction and storm season punish shortcuts that might go unnoticed elsewhere: wet framing, board touching the slab, seams lined up with doors, fasteners driven too deep.
These tips are for DIYers tackling a small project and for homeowners who want to know what good installation looks like before hiring someone.
Choose board for the room
- Standard half-inch drywall for most interior walls
- Sag-resistant ceiling board for ceilings
- Moisture- and mold-resistant board for bathrooms, laundry rooms and other humid areas
- Cement board, not drywall, behind tile in showers and tub surrounds
- Fire-rated board where code requires it, commonly between an attached garage and living space
Buy a few extra sheets. Damaged corners and miscuts happen, and a mismatched sheet from a different batch can be slightly different in thickness.
Let the house, and the board, settle into conditions
Store drywall flat, indoors, in the space where it will be installed, with the AC running. Board left in a humid garage or on a damp slab absorbs moisture and can sag or cause fastener problems later.
Before you hang, check that framing is dry, especially after any water damage. A moisture meter is a worthwhile tool. Closing up damp studs is an easy way to grow mold behind a brand-new wall.
Plan the layout before the first sheet goes up
- Hang ceilings first, then walls, so wall sheets support the ceiling edges
- Hang sheets horizontally on walls in most rooms; it reduces the length of seams at eye level
- Stagger end joints so they don't line up from one row to the next
- Avoid seams that line up with the edges of doors and windows — run a sheet around the corner of the opening instead, since joints at corners of openings are where cracks start
- Use the longest sheets practical to minimise butt joints
Mark stud locations on the floor and ceiling so you can find them once board covers them.
Leave a gap at the floor
Keep the bottom edge of the wall board about half an inch off the slab. Baseboard covers the gap. On a slab foundation, that gap keeps the board from wicking moisture from the concrete and protects it from minor water on the floor, from a mop to a leaking water heater.
Fasten correctly
- Use drywall screws rather than nails; they hold better and pop less
- Follow the board manufacturer's spacing, typically closer together on ceilings than on walls
- Drive screws just below the surface, creating a slight dimple without tearing the paper
- Keep screws a short distance from sheet edges so the gypsum doesn't crumble
- Don't over-drive; a screw that breaks the paper doesn't hold
A drywall screw-gun attachment or dimpler bit takes the guesswork out of depth.
Concrete block walls
Many exterior walls in Tampa homes are concrete block. Drywall isn't fastened to block directly; it goes onto furring strips attached to the block, sometimes with rigid insulation between. Tips:
- Check furring strips are straight, dry and securely fastened before hanging
- Replace any that are water-stained or soft
- If water marks show on the block, find and seal the exterior entry point first — cracked stucco, window seals or flashing
Plan around electrical and plumbing
Before hanging, confirm all wiring, boxes, pipes and blocking are in place. Add blocking now for anything heavy you'll mount later: TV brackets, cabinets, grab bars, shelves. Measure box locations carefully, or use a router with a guide bit to cut openings cleanly after hanging.
Taping and finishing in humidity
- Use setting-type compound for the first coat in humid weather; it hardens chemically and isn't dependent on evaporation
- Apply thin coats and allow full drying between them
- Keep the AC on to bring indoor humidity down
- Prime before painting; bare compound and paper absorb paint differently
Common mistakes that cause cracks later
- Seams lined up with the corners of doors and windows
- Board butted tightly against the slab or against other sheets under pressure
- Not enough fasteners, or fasteners driven too deep
- Hanging on damp framing
- Thick coats of premixed compound in humid conditions
When to bring in a professional
Small walls, closets and patches are realistic DIY projects. Whole rooms, ceilings, texture matching and finishing to a Level 5 standard are where professional crews save time and frustration. Our guide on preparing your home for drywall installation covers what to do before a crew arrives.
One thing to know before you call us: The Patch Guyz don't hang new drywall. New walls, whole rooms, additions and remodels are a job for a drywall installer or general contractor. What we do is fix the problems that turn up later, such as cracked seams and popped fasteners, and cut out and replace damaged sections of existing walls through our damaged drywall replacement service, with our patch finishing team taping, texturing and blending each repair. In Pasco County, see our Wesley Chapel drywall page. Text a photo of the damage to 727-242-8500 for a free written estimate on the repair.