Two walls can be built from the same drywall and painted the same colour, yet one looks flawless and the other shows every seam when the sun comes through the window. The difference is the finish.
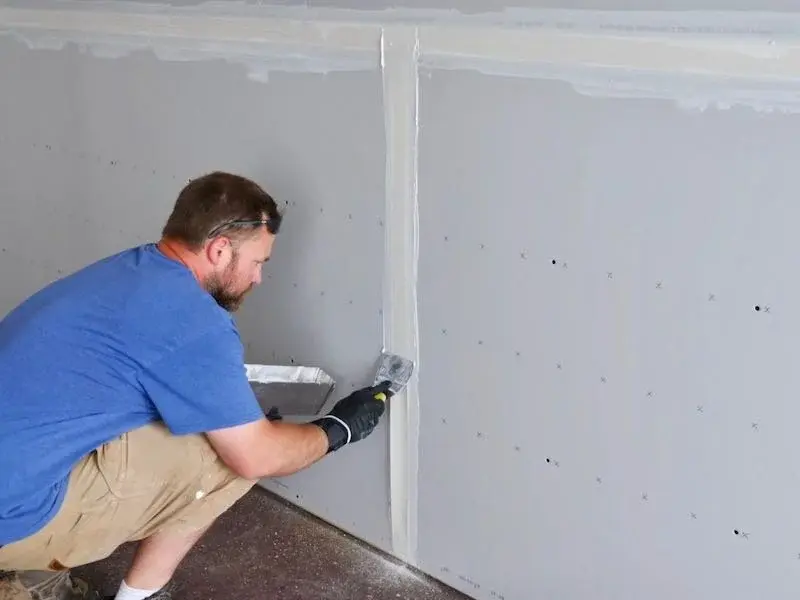
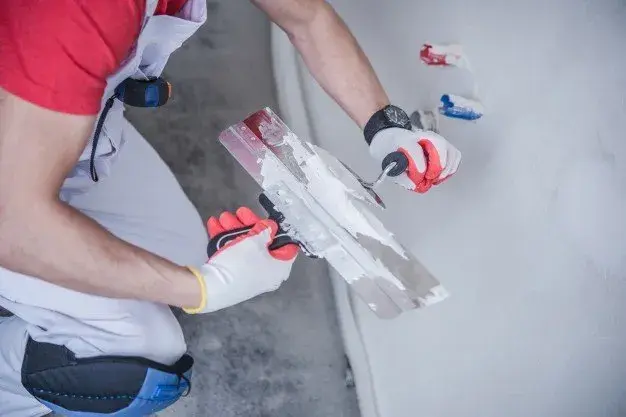
Drywall finishing is the work of taping, coating, sanding and preparing board so that it disappears under paint. The industry describes the result in six finish levels, from 0 to 5. Knowing what they mean lets you ask for the right one — and understand why a quote changes when you do.
Why finishing matters so much in Tampa Bay
Florida homes are built for light. Big sliding doors, open-plan living areas, windows facing the water and bright afternoon sun all create "critical lighting": light that hits a wall at a low angle and throws every ridge, dip and seam into shadow.
Glossy and dark paints exaggerate the effect further. That's why a finish that looks fine in a hallway can look unacceptable in a sunny great room.
The six finish levels
Level 0
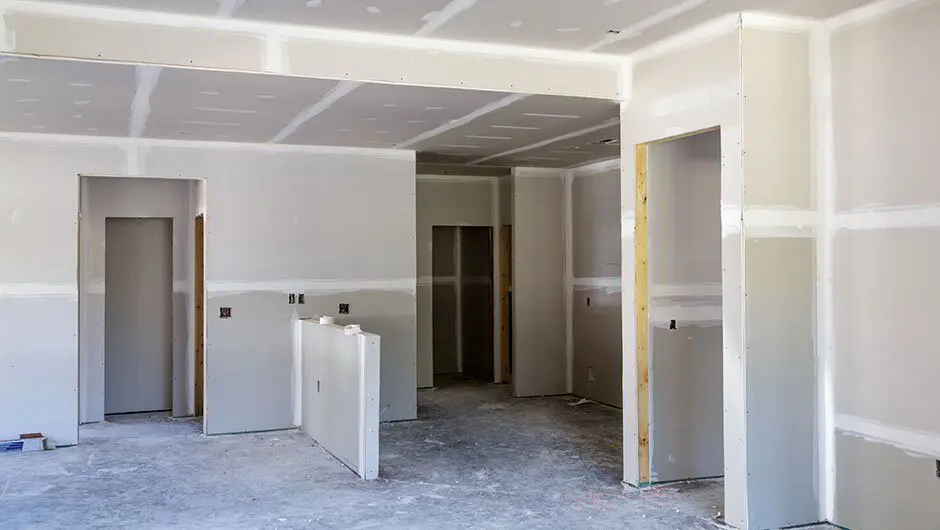
Drywall is hung but nothing else is done: no tape, no compound. Used only for temporary construction or where finishing is deferred.
Level 1
Tape is embedded in compound at joints and interior corners. Excess compound is scraped off, but the surface isn't smooth. Common above ceilings, in attics and in areas hidden from view.
Level 2
Tape is embedded, and a thin coat of compound covers tape and fasteners. Suitable for garages, storage spaces, or as a base for tile in some areas.
Level 3
An additional coat of compound over joints and fasteners. The surface is ready for heavy textures, such as a thick knockdown, which hide what's beneath.
Level 4
Three coats over joints, corners and fasteners, all sanded smooth. This is the standard for most homes. It suits flat or eggshell paint and light textures like orange peel. Under strong side light, joints may still be faintly visible.
Level 5
Level 4 plus a skim coat — a thin film of compound over the entire surface — to even out the texture of the paper face and the joint areas. This is the finish for smooth walls in critical lighting, and for walls getting semi-gloss or gloss paint.
Which level do you need?
A simple rule of thumb:
- Garage, attic, utility areas: Level 1 to 2
- Walls and ceilings getting heavy texture: Level 3
- Most living spaces with flat or eggshell paint, or light texture: Level 4
- Smooth walls or ceilings in bright rooms, under glossy paint or dark colours: Level 5
You don't need the same level everywhere. Specifying Level 5 only where light and paint demand it keeps a project sensible.
The finishing process
Whatever the level, good finishing follows the same discipline:
- Embed tape fully in compound, with no air pockets
- Use corner bead on outside corners and set it straight
- Apply thin coats rather than thick ones, feathering wider each time
- Allow each coat to dry fully before the next — in humid weather this takes longer, so keep the AC running
- Sand with a light and a straightedge, checking for ridges and hollows
- Prime with a drywall primer to seal compound and paper evenly
Skipping primer is a common cause of "flashing," where seams show as dull or shiny strips through the paint.
Common finishing problems and causes
- Visible seams under paint: not enough coats, or no Level 5 in critical light
- Ridges along joints: compound built up too thick in the centre, not feathered wide
- Bubbled tape: tape not fully bedded
- Nail or screw pops: fasteners set too deep or too shallow, or framing movement
- Cracking compound: coats applied too thickly or before the previous one dried
Texture versus smooth
Textures like orange peel and knockdown are popular across Tampa Bay partly because they're forgiving — they hide minor finishing flaws. A smooth wall reveals everything. If you love the look of smooth, budget for Level 5 in the rooms where it counts.
DIY or professional?
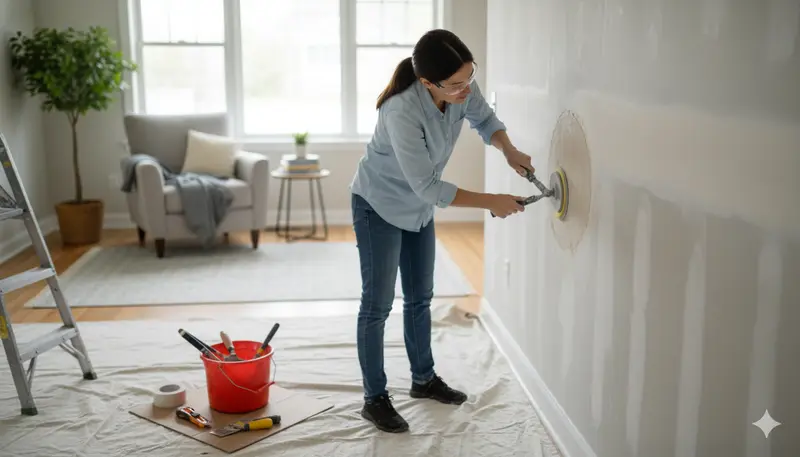
Finishing is the most skill-dependent part of drywall work. Homeowners can achieve a reasonable Level 4 on small patches with patience. Large areas and Level 5 skim coats take practice to keep flat and consistent, and wide knives, good lighting and dust control make a big difference. Our comparison of drywall finishing techniques looks at tools and methods in more detail.
Professional drywall finishing
At The Patch Guyz, Adrian, our drywall finisher, and the rest of the team finish repairs: taping, coating and blending patches, seams and replaced sections so they disappear into the wall around them. We don't finish newly hung board for remodels or skim whole rooms; that work belongs with a drywall installer. Learn more about our patch finishing and blending, our taping and finishing for repairs, or our texture matching if you want a textured finish instead. Text a photo to 727-242-8500 for a free written estimate.