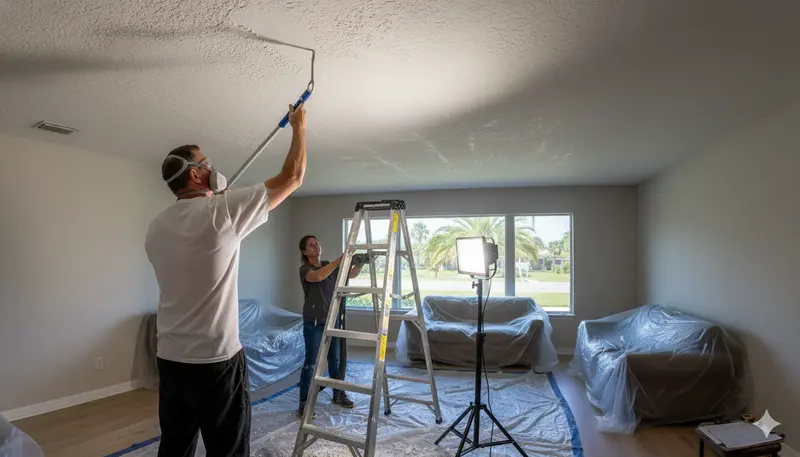
Popcorn ceilings, also called acoustic or cottage-cheese ceilings, were sprayed onto ceilings in huge numbers of Florida homes for decades. They hid flaws and softened sound, but today they look dated, trap dust and cobwebs, and are hard to patch. Taking them down is one of the biggest visual upgrades you can make to a room.
This is the full sequence professionals follow to remove a popcorn ceiling, including the parts that do not show up in quick online videos.
Step 0: Test for Asbestos First
This step is not optional. Popcorn texture applied before the mid-1980s may contain asbestos, and many Tampa Bay homes from that era still have their original ceilings. Some later ceilings used leftover stock as well.
- Mist a small area, wear a disposable respirator, and cut a small sample into a sealed bag, or hire an inspector to take it.
- Send it to an accredited lab.
- If it is positive, stop. Do not scrape, sand or drill. Removal should be handled by a licensed asbestos abatement contractor following Florida and federal rules.
- If it is negative, keep the lab result. It is useful when you sell the home.
Step 1: Decide Whether It Is a DIY Job
You can do this yourself if the test is negative, the ceiling has never been painted, ceilings are standard height and you are comfortable working overhead for hours. Consider a pro if:
- The texture has been painted, since paint seals it and stops water from softening it
- Ceilings are vaulted or very high
- The home is furnished and occupied, and dust control matters
- You want a smooth, paint-ready finish, which is the hard part
Step 2: Prepare the Room Like It Is a Job Site
- Remove everything you can, and cover anything that stays with plastic.
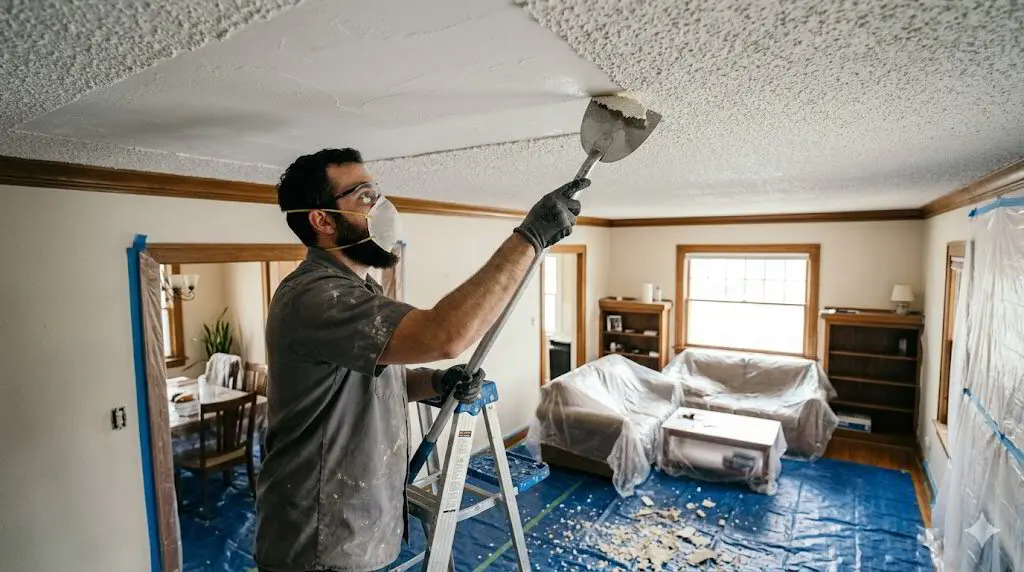
- Cover the floor with plastic sheeting, then a layer of rosin paper or drop cloths for traction. Wet popcorn is slippery.
- Run plastic about a foot down the walls and tape it at the top to create a catch basin.
- Turn off the HVAC and cover the vents, so dust does not travel through the house.
- Turn off power to the ceiling fixtures and fans at the breaker. Remove the fixtures and cap the wires.
Step 3: Soak, Wait, Scrape
- Fill a pump sprayer with warm water. A small amount of dish soap helps it penetrate.
- Mist a section of a few feet square. Do not flood it, because too much water can damage the drywall paper or the tape joints.
- Wait several minutes until the texture softens.
- Scrape with a wide drywall knife or ceiling scraper held at a low angle. A mud pan held below catches the bulk of it.
- Work in small sections and re-wet any area that dries before you get to it.
Go easy around seams and corners. Gouges and torn paper are what make the next steps longer.
If the ceiling has been painted
Water alone will not penetrate. Options include scoring the surface so water can get in, using a removal product designed for painted texture, or covering the ceiling with new drywall or a thin skim coat instead. Professionals often decide on site based on how the paint responds.
Step 4: Repair What Is Underneath
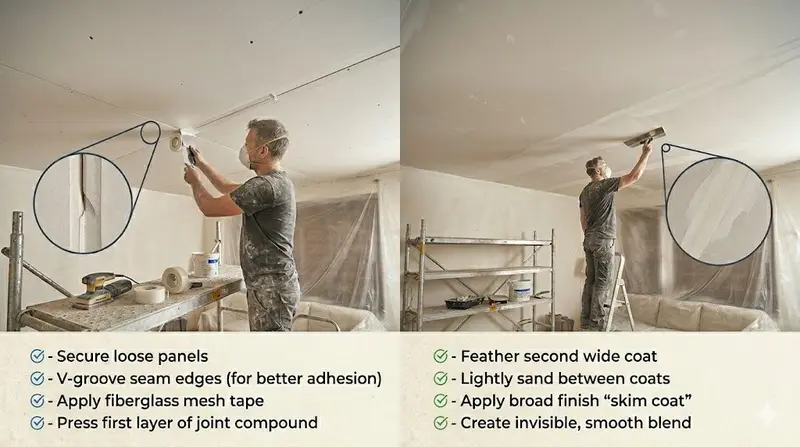
Under the texture you will usually find rough tape joints, screw pops and dents, because the texture was hiding them. This is the step that separates a good result from a disappointing one.
- Seal any torn drywall paper with a stain-blocking or oil-based primer before applying compound, or it will bubble.
- Re-set loose screws and re-tape any failed seams.
- Skim coat the ceiling to get it flat and uniform.
- Sand with a pole sander, ideally with a vacuum attachment.
Step 5: Prime and Finish
Prime the whole ceiling, then either paint it smooth or apply a light texture such as knockdown or orange peel. A light texture is more forgiving on large ceilings and in rooms with strong side light from sliding doors.
Tips Professionals Use
- Do one room at a time so the rest of the house stays livable.
- Keep the AC off during the messy phase, then use it with dehumidifiers to speed drying of the compound.
- Use a bright work light held at an angle to spot flaws before primer.
- Bag waste as you go so it does not get tracked through the house.
When to Hand It Off
If your test is negative but the ceiling is painted, high, or in a lived-in home, a professional crew is usually faster and cleaner. The Patch Guyz handle popcorn ceiling removal with HEPA dust control and skim the ceiling smooth afterward. We work across Tampa and Pinellas County. If you are weighing the budget side, read about popcorn ceiling removal cost factors in Clearwater.