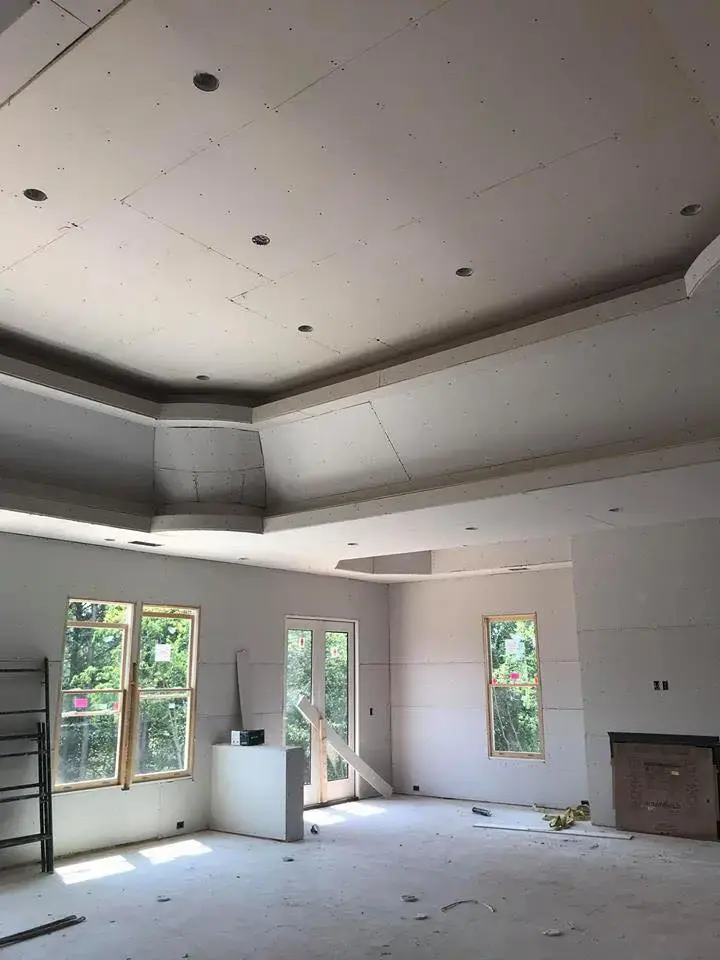
Most remodels in Tampa start with something coming out: a wall between the kitchen and dining room, a tub that becomes a walk-in shower, a closet that turns into a pantry. Every one of those changes leaves raw framing, ragged drywall edges and a ceiling that no longer lines up. How well the new walls look at the end depends less on the paint and more on how the drywall phase is planned.
This guide is for homeowners in the middle of planning a renovation who want the drywall part to go smoothly, whether they are running the project themselves or working with a general contractor.
Where Drywall Fits in the Renovation Schedule
Drywall is the dividing line between "rough" work and "finish" work. Anything that lives inside the wall has to be done and inspected before a single sheet goes up.
- Demolition and any structural changes (headers, beams, new openings)
- Rough plumbing, electrical, low-voltage and HVAC duct runs
- Any required inspections of that rough work
- Insulation, blocking for cabinets, TV mounts and grab bars
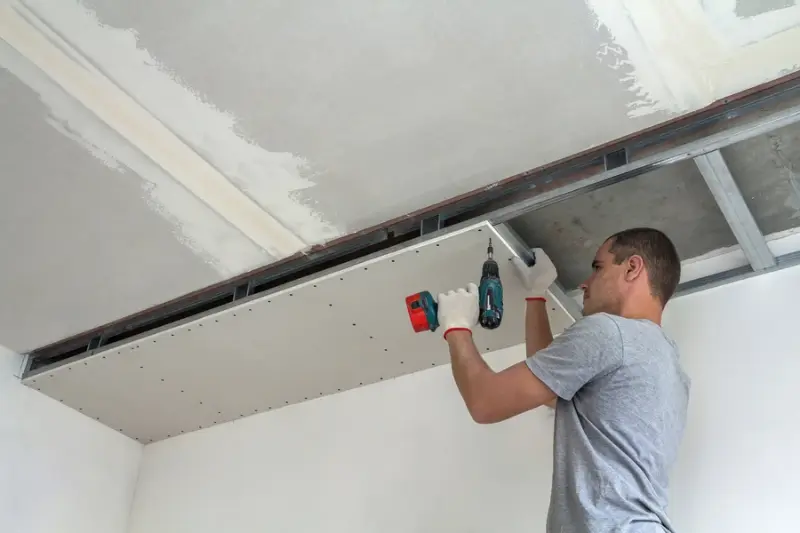
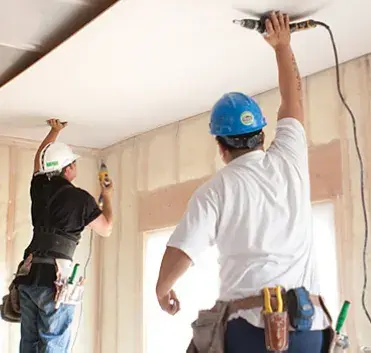
- Hanging, taping and finishing drywall
- Primer, then cabinets, trim, flooring and final paint
The most expensive mistake on a remodel is closing a wall and then discovering the electrician needs one more box or the plumber forgot a valve. Walk every room with your trades before the drywall crew is booked and ask: is anything else going inside this wall?
Decisions to Make Before the Crew Arrives
Board type for each room
Not every wall should get the same sheet. In Florida, bathrooms, laundry rooms and the wall behind a kitchen sink benefit from moisture- and mold-resistant board. Shower walls need a proper tile backer, not drywall of any kind. Garages that share a wall with living space usually call for fire-rated board, so check with your building department or GC.
Finish level
Drywall finishing runs on a scale from bare taped joints up to a full skim coat. A typical living area gets a Level 4 finish. Walls under strong side light, such as a long hallway with a window at the end or a great room with tall sliders, look much better with a Level 5 skim coat because it hides joint lines that raking sunlight would otherwise reveal. Your drywall installer should walk you through the difference on site, and our page on finishing and blending explains how finish levels affect repairs.
Texture or smooth
Many older Tampa homes have knockdown or orange-peel texture on the walls. If you are only rebuilding part of a room, decide whether to match the existing texture or skim the whole room smooth. A patch of smooth wall next to textured wall is obvious once it is painted.
Where Remodel Drywall Usually Goes Wrong
- Uneven framing. New studs sistered to old ones are rarely in the same plane. A good crew checks with a straightedge and shims before hanging, instead of trying to hide a hump with mud.
- Rushed drying. Tampa humidity slows joint compound drying. Sanding or painting too soon leads to shrinkage, cracking and visible seams a few weeks later.
- Poor transitions. The joint where new drywall meets old plaster or old drywall is the weak spot. It needs proper backing, mesh or paper tape, and feathering wide enough to disappear.
- Ceiling patches that do not match. When a wall comes out, there is often a strip of missing ceiling. If that ceiling has popcorn texture, it must be tested for asbestos before anyone scrapes or sands it, which is standard caution for homes built before the mid-1980s.
Should Drywall Be a Separate Hire?
On a big remodel your general contractor will normally schedule a drywall sub. On smaller jobs, or when you are acting as your own GC, hiring a drywall specialist directly often gives better results because finishing is the only thing they do.
When you compare crews for renovation work, ask:
- Who actually hangs and finishes the drywall, and will they be the same people throughout?
- How will dust be controlled in the parts of the house you are still living in?
- What finish level is included, and is primer part of the scope?
- Is the quote written, and does it cover patching any ceiling or adjoining wall damage?
- What happens if a seam cracks a few months after the job?
A note on scope: The Patch Guyz don't hang or finish new drywall for remodels, so for the main drywall phase you will want a drywall installer or your GC's drywall sub. Where we fit is the repair work around a renovation across Hillsborough County and the wider Tampa Bay area: replacing damaged sections of existing walls, patching ceilings and adjoining walls knocked during demolition, and fixing dented corner bead or nail pops that show up afterwards. Those repair jobs run with HEPA dust control, a written quote that is the final price, and a 1-year written workmanship warranty. For a broader checklist of vetting questions, see our guide on finding reliable drywall repair services in Tampa Bay.
Judging the Finished Walls
Before the painter arrives, do your own inspection with a work light held flat against the wall. Look for:
- Ridges or bumps along taped seams
- Screw heads that show as small dimples or pops
- Corner bead that is wavy or has exposed metal
- Sanding scratches or pinholes in the compound
These are far easier to fix before primer than after. A reputable crew will want to know about them and should walk the rooms with you before final payment.
If your renovation leaves damaged walls or ceilings to repair anywhere around Tampa, text a photo to 727-242-8500 for a written estimate on the repair, usually within the hour.