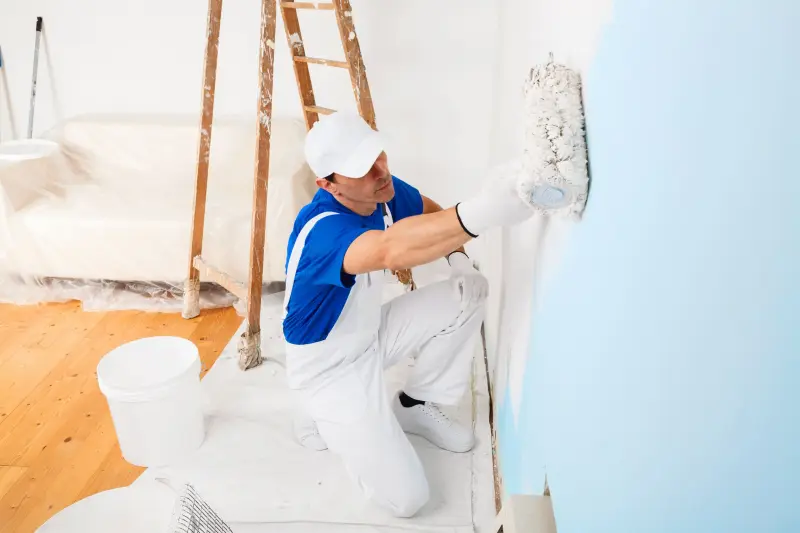
Ask any experienced painter where the time goes and you will hear the same thing: prep is most of the job. The rolling is quick. What takes skill and patience is getting the wall surface ready so the paint goes on evenly, sticks properly and does not reveal every flaw underneath.
This guide focuses only on that surface prep – the part that separates a professional-looking finish from an average one.
Read the wall before you touch it
Start with a bright work light or flashlight held flat against the wall. Raking light exposes everything: nail pops, ridges along seams, old patches, dents, roller marks from the last paint job. Mark each one with a pencil or a scrap of painter's tape.
Then check the condition of the existing paint:
- Chalky or powdery? It needs cleaning and possibly a bonding primer.
- Glossy? It needs scuffing or a bonding primer so new paint grips.
- Peeling or bubbling? Find out why. In Florida, that often means moisture behind the wall.
- Water stains? These need a stain-blocking primer, after the leak is fixed.
Repair, don't just fill
Professionals use the right repair for each defect:
- Nail holes and small dents: lightweight spackle, two thin passes
- Nail pops: add a screw to pull the board tight, then fill
- Cracks along seams: cut out loose tape and re-tape rather than skimming over
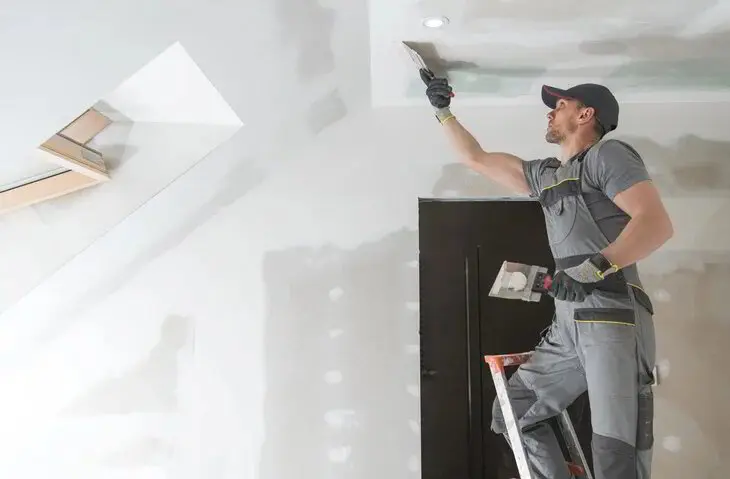
- Larger holes: patch with backing and feather wide
- Old, lumpy patches: sand them flat or skim them out
Painting over a crack without reinforcing it usually means it returns within a season. Our drywall painting prep service handles exactly this stage.
Match the texture
Most Florida homes have textured walls – orange peel or knockdown are common. A smooth patch on a textured wall looks like a flat spot once painted. Professionals re-apply matching texture before priming. If you are not sure how, small areas can be blended with aerosol texture; larger ones benefit from professional texture matching.
Sand smart
- Use a fine sanding sponge or pole sander, not coarse paper
- Sand only the repairs, plus a light scuff on glossy areas
- Avoid sanding through the paper face of the drywall – fuzzy paper needs sealing
- Contain the dust with plastic and a vacuum with a good filter
Clean every surface
Paint struggles to bond over dust, grease and handprints. Professionals:
- Vacuum or brush off sanding dust
- Wipe walls with a damp cloth or sponge
- Wash kitchens, door frames and switch areas with a mild degreaser, then rinse
- Let everything dry fully – longer on humid days
Choose the right primer
Primer is not optional over repairs. Bare joint compound is far more absorbent than painted drywall and causes flashing – dull or shiny spots that show through the finish coat.
- Drywall primer / PVA primer: for new drywall and large skim-coated areas
- Stain-blocking primer: for old water stains and marks that bleed through
- Bonding primer: for glossy or hard-to-stick surfaces
- Spot priming: fine for small repairs on otherwise sound walls, as long as you feather it out
Protect before you paint
Prep includes protecting the room:
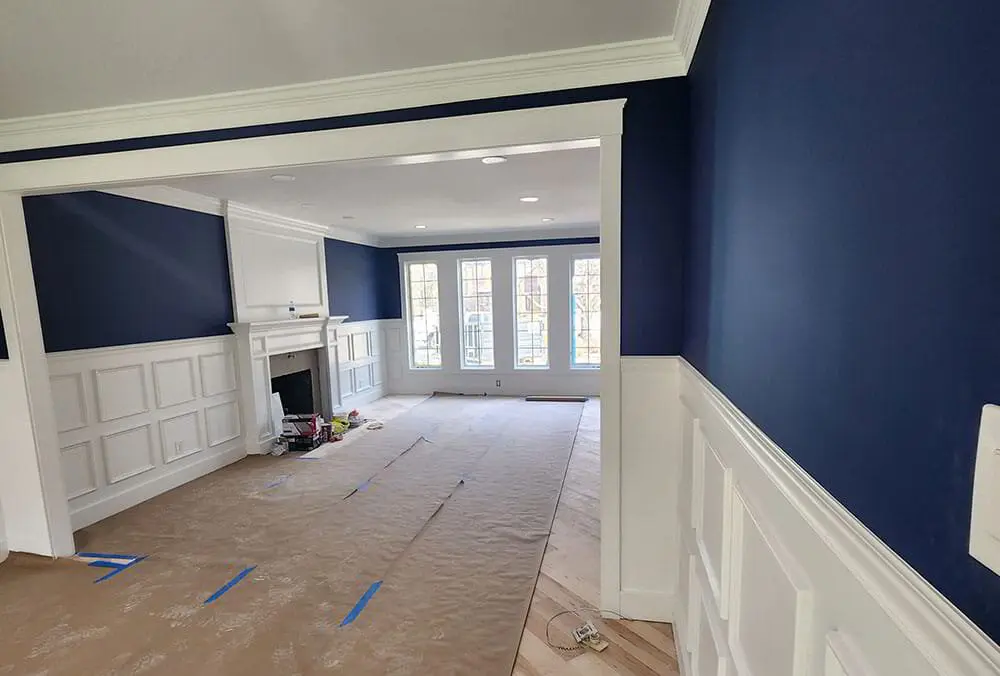
- Drop cloths along every wall
- Painter's tape on trim, outlets and fixtures
- Covers over vents to keep dust out of the AC system
- Furniture moved and covered
Mind the climate
Florida humidity slows the drying of compound, primer and paint. Run the AC during the whole project, keep windows closed on muggy days and allow extra time between steps. Rushing primer onto compound that is not fully dry is a common cause of bubbling.
One more check for older homes
If your home was built before the mid-1980s and has popcorn ceilings, do not scrape or sand that texture during prep until it has been tested for asbestos.
Want the prep done for you?
The Patch Guyz don't paint rooms. We focus on the surface work that comes before paint: repairs, seams, nail pops, texture, primer and touch-up paint over the repaired spots, so you or your painter start on a sound wall. Every job includes HEPA dust control, and you get a walkthrough before payment plus a 1-year written workmanship warranty. We work throughout Pinellas County, including St. Petersburg. For a homeowner-friendly checklist of everything to do before the painters arrive, see what to do before interior painting.