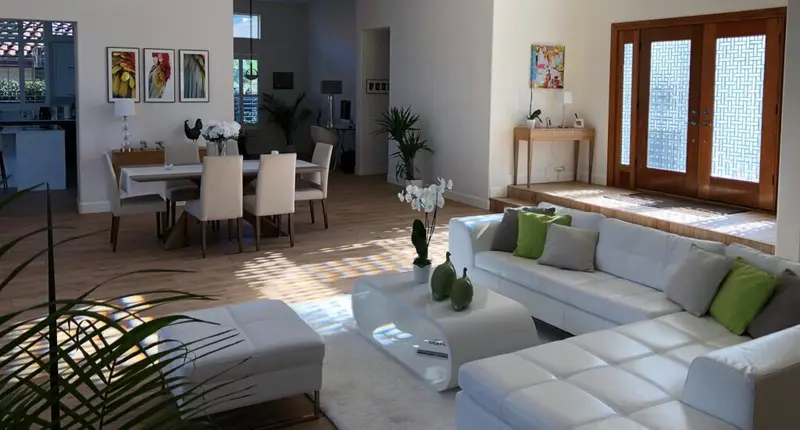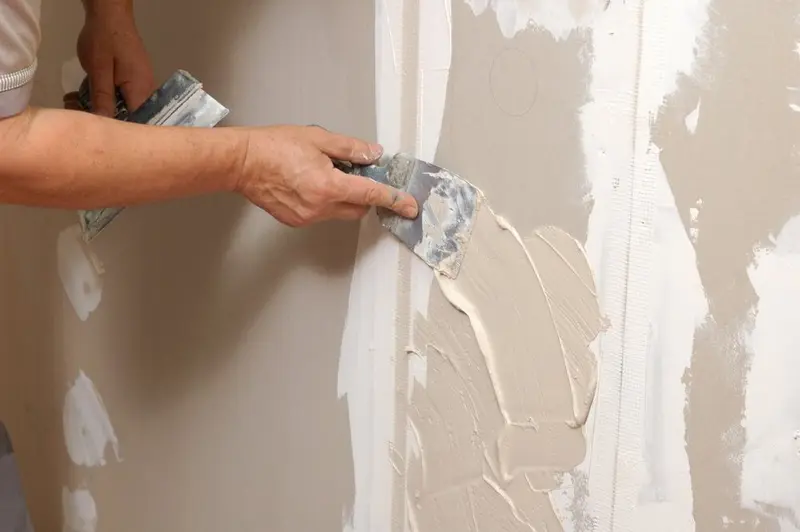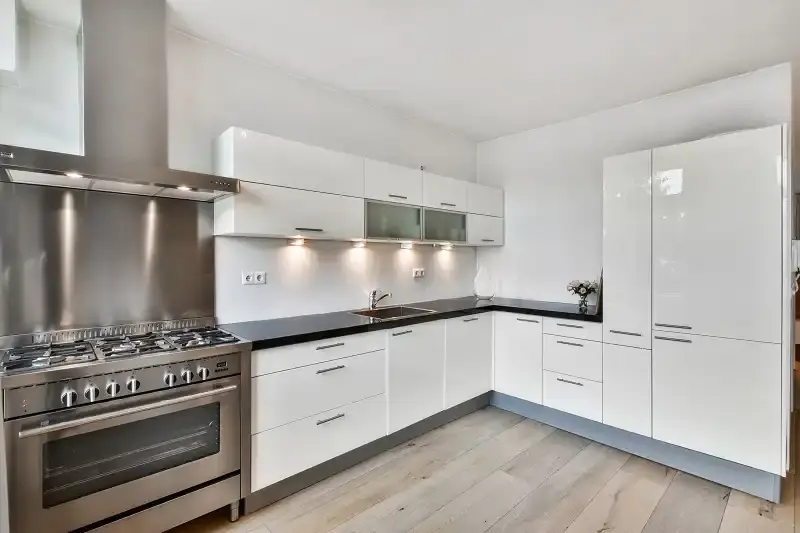
Most Tampa homeowners do not have one project in mind. They have a list: new floors, smooth ceilings, a paint refresh, maybe recessed lighting and a better AC layout. The question is not only what to do, but what to do first – because the wrong order means dust on new floors, holes in fresh paint and paying twice for the same wall.
This guide lays out a practical sequence for interior upgrades in a Florida home, with notes on where drywall and ceiling work fits in.
Start with what you cannot see
Before anything cosmetic, deal with the systems behind the walls and above the ceilings. In Tampa that usually means three things.
Water and moisture
Check for slow plumbing leaks, old roof stains and any signs of AC condensation trouble. A fresh ceiling over an active drip will not last a season. If a wall feels soft or smells musty, find out why before you budget for anything else.
Electrical and lighting changes
New recessed lights, ceiling fans, extra outlets or a relocated switch all mean cutting into drywall. Do this work before any patching, texturing or painting, then have the openings repaired in one visit.
HVAC and ductwork
Moving a supply register or replacing an air handler often leaves holes in ceilings and closets. Plan it early. Our page on drywall repair after HVAC installation explains what that clean-up normally involves.
Then tackle the ceilings
Ceilings come before walls because ceiling work drips, sheds dust and splashes compound onto everything below it.
If you are removing popcorn texture, this is the stage to do it. Remember that popcorn ceilings in homes built before the mid-1980s may contain asbestos and should be tested before anyone scrapes. Once removal is done, the ceiling is skim-coated, sanded smooth and primed. See our popcorn ceiling removal service for how that process is handled with dust control.
Other ceiling items for this stage:
- Repairing old water stains and sagging sections
- Re-texturing or matching knockdown and orange peel finishes
- Fixing cracks along ceiling seams and corners
Walls next: repair, reshape, refinish
With ceilings finished, move to the walls. This is where most of the visible improvement happens:
- Patching dents, anchor holes and doorknob damage
- Removing or moving walls to open up a kitchen or living area
- Smoothing textured walls for a more modern look
- Re-taping seams that have cracked or bubbled over the years
Open-plan layouts are popular in older Tampa homes, but remember that many houses here have block exterior walls and some interior walls carry load. A structural question belongs with an engineer or general contractor; the drywall work follows once framing is settled. Moving walls and hanging new board is work for that contractor and a drywall installer; The Patch Guyz stick to repairs, including replacing damaged sections of the walls you keep.
Paint after the dust settles
Painting should follow all drywall work, not overlap with it. Sanding dust sticks to wet paint, and a last-minute outlet move means touch-ups that never quite match.
Before painting, every repair should be primed. Bare joint compound absorbs paint differently from the surrounding wall, which causes dull patches known as flashing. Choosing colours that work in strong Florida light is a project of its own; our post on interior painting ideas for Tampa Bay homes has suggestions.
Floors and finishing touches last
New flooring, baseboards in some cases, and fixtures go in at the end. If you install floors first, cover them heavily – drywall sanding and ceiling work are hard on any surface. Final items in this phase:
- Install or reinstall trim and baseboards
- Fit light fixtures, fans and switch plates
- Caulk and touch up trim paint
- Do a full walkthrough in daylight and evening light
Florida considerations for every phase
Tampa's climate shapes how interior work should be done:
- Humidity slows drying. Joint compound and paint take longer to cure when the house is muggy. Run the AC during and after work.
- Hurricane season scheduling. Late summer and early fall can bring storm damage and busy contractors. Planning larger projects outside that window gives you more flexibility.
- Moisture-resistant materials. Bathrooms, laundry rooms and areas near exterior block walls benefit from moisture-resistant board and good ventilation.
How to keep the project manageable
You do not have to do everything at once. Many homeowners split the work into phases by room or by floor. What matters is keeping the order within each room: hidden systems, ceilings, walls, paint, then floors and fixtures.
If drywall and ceiling repairs are part of your plan, The Patch Guyz can help with that piece. Text a photo to 727-242-8500 for a written estimate, usually within the hour, and every job includes HEPA dust control so the rest of your house stays clean. We work throughout Tampa and the surrounding area.